Printing Badges and Documents
Printer Setup and Usage Guide
Virtual Front Desk (VFD) allows you to seamlessly print visitor badges at the end of a visitor sign-in form and send documents to a printer during video calls with customers. Both badge and document printing functionalities can operate from the same station. Please note you will need the Enterprise plan to access this feature.
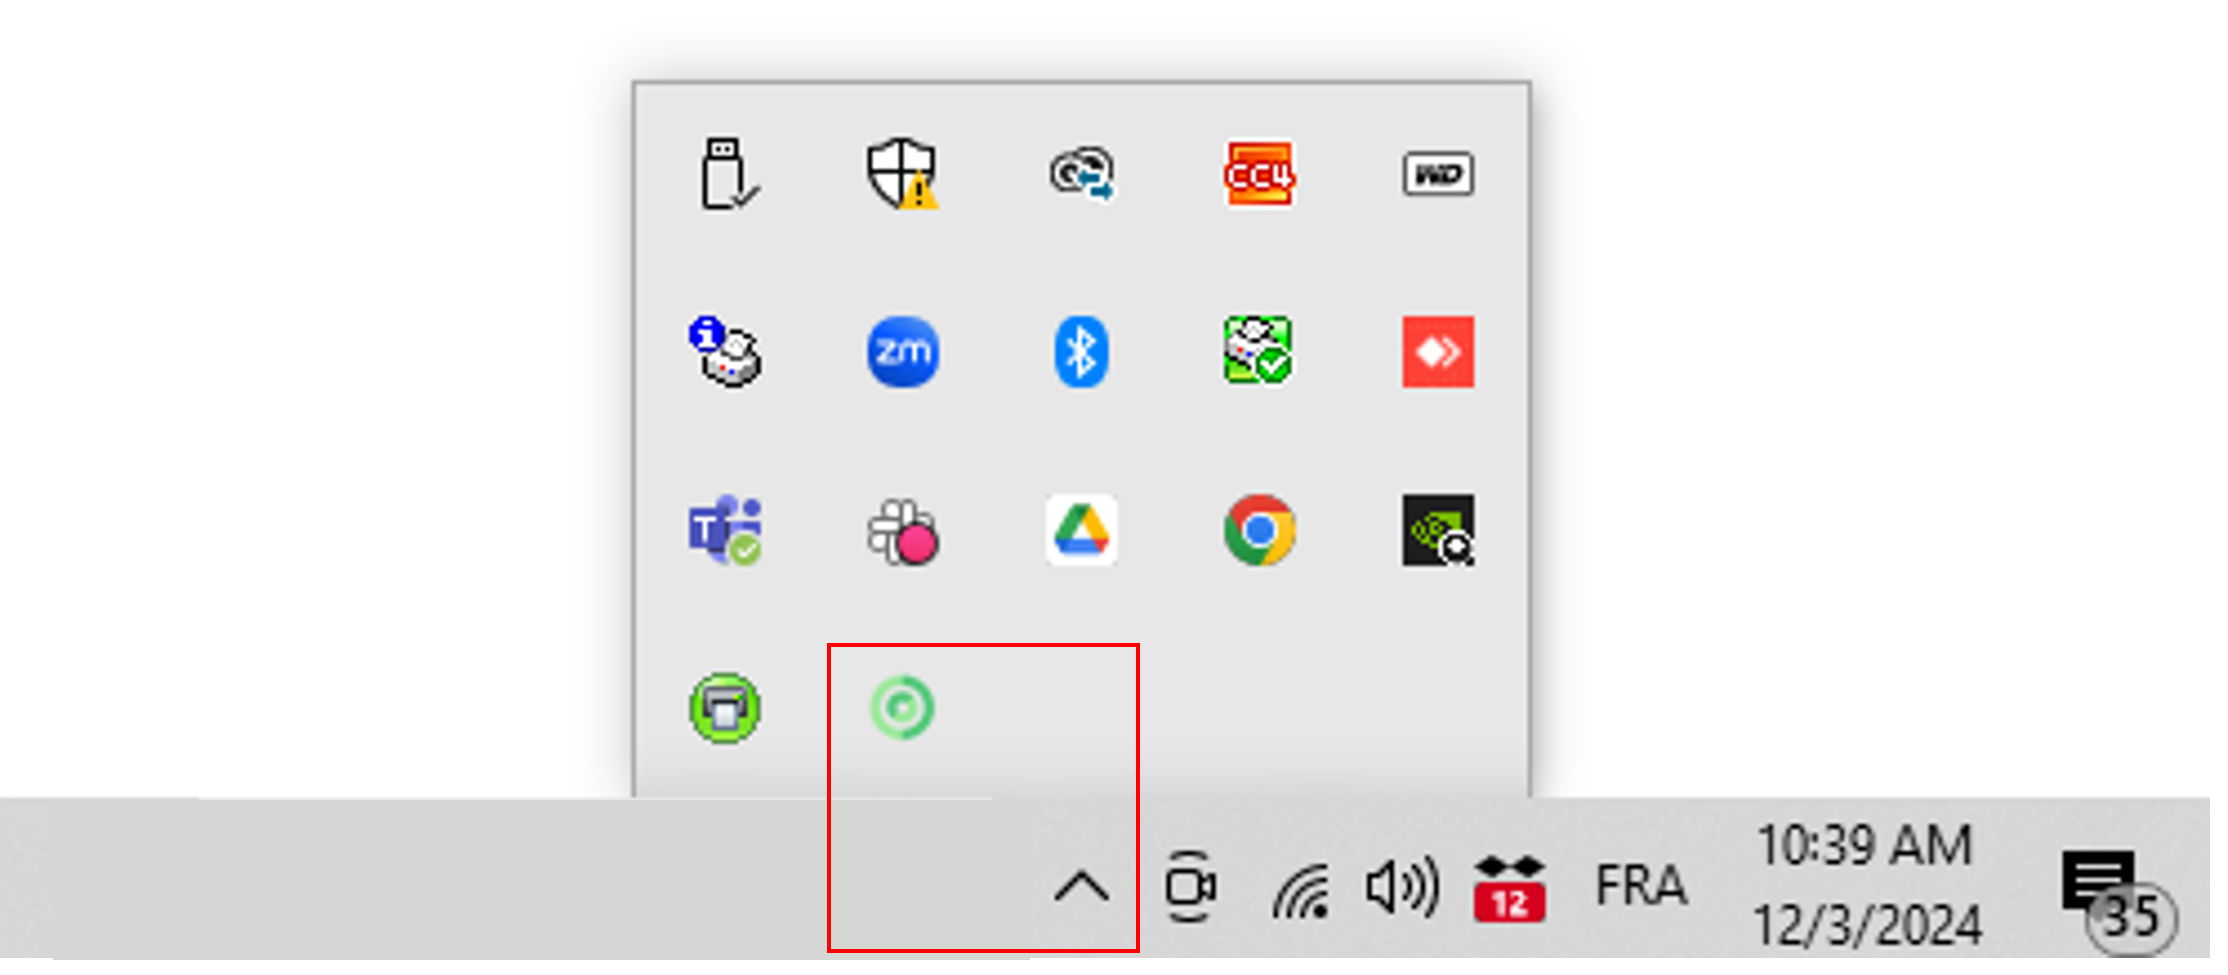
The VFD Printer App runs in the background on your Windows computer. It doesn’t feature a visible dashboard or settings menu—only an icon in your system tray. You can right-click this icon to edit settings or close the app.
Badge Printing
Compatible Label Printer
Visitor badges are designed for the Brother QL-820 NWBc label printer, using a black-and-white DK 2205, 2.4-inch wide roll. While other label printers with similar roll sizes may work, we recommend the Brother QL-820 NWBc for the best performance.
Badge Printer Setup
- Install the printer driver on a Windows computer near your VFD station, or directly to your station if it runs on Windows. Follow the instructions in the Brother QL-820 NWBc Quick Setup Guide.
- Connect (by cable or network) the Brother QL-820 NWBc label printer to the same Windows computer near your VFD station, or directly to your station if it runs on Windows.
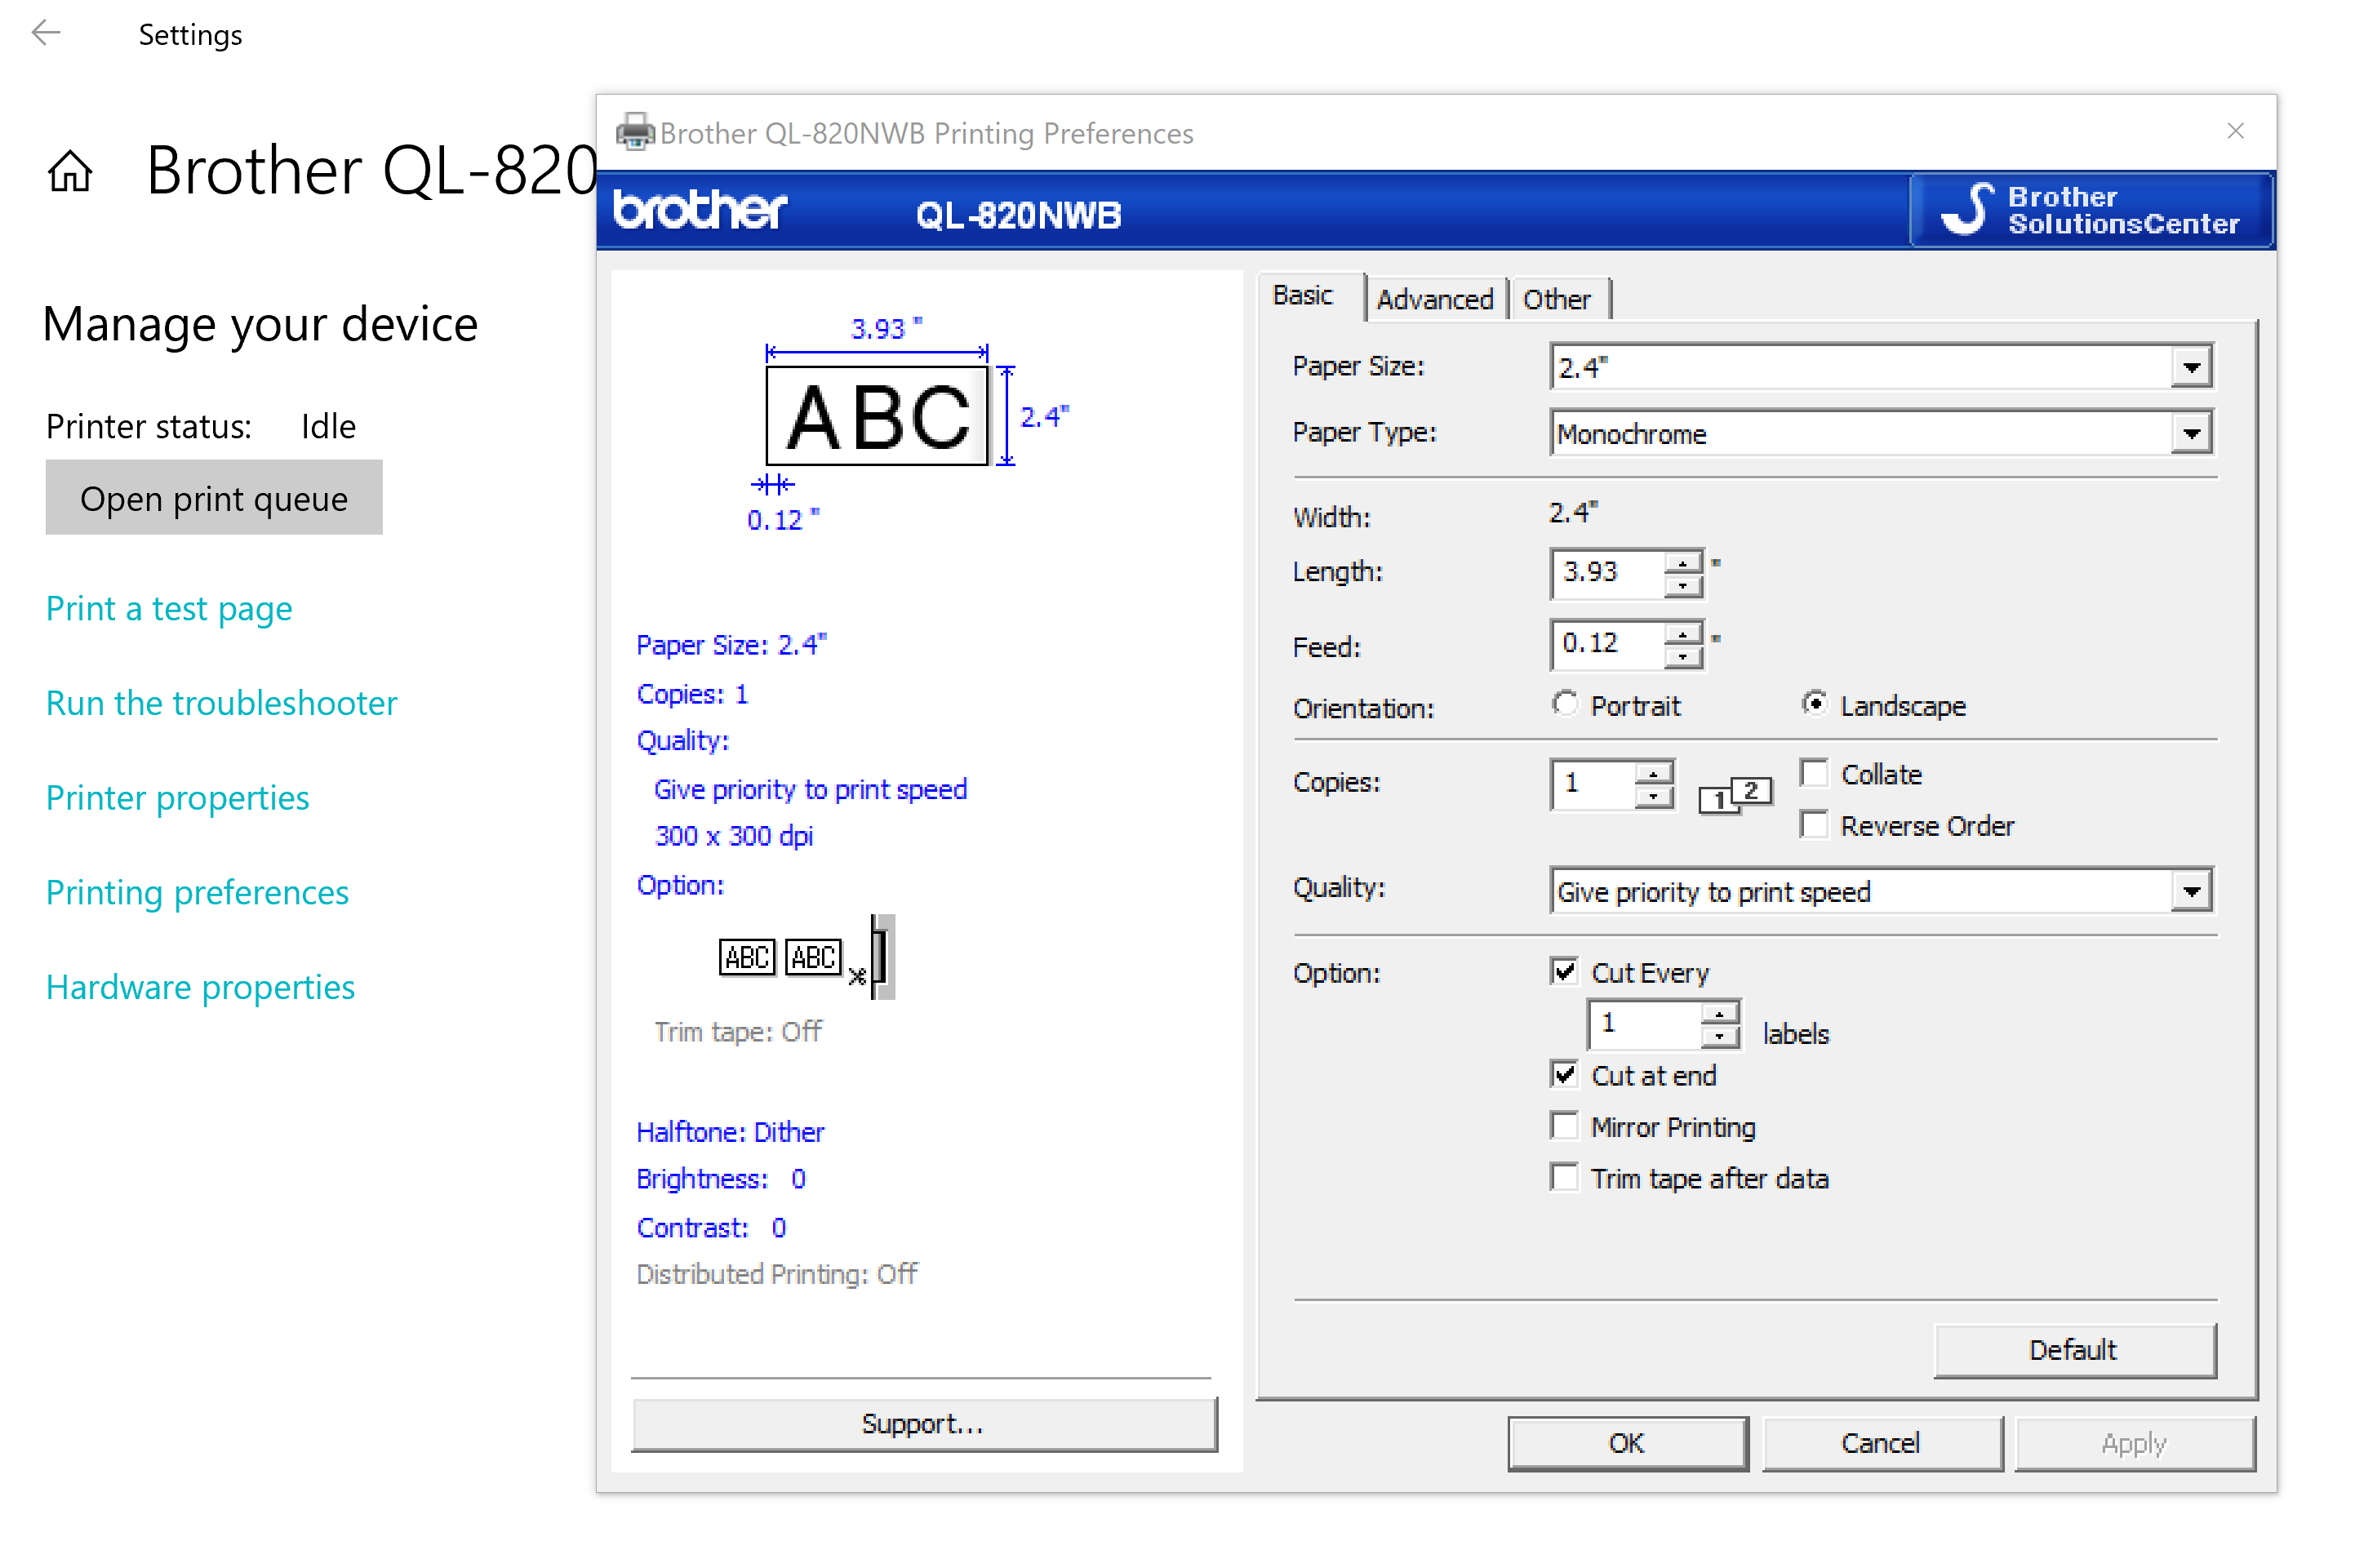
- Once installed, access the printer’s Preferences and set the roll width to 2.4 inches for proper badge formatting.
Internet Connection
Ensure the document printer is connected to the internet by following the manufacturer’s setup instructions.
Document Printing
Setup Instructions
- Install the appropriate driver for your document printer on a Windows computer near your VFD station, or directly to your station if it runs on Windows.
- Connect (by cable or Network) the printer to a Windows computer near your VFD station, or directly to your station if it uses Windows.
Internet Connection
Ensure the document printer is connected to the internet by following the manufacturer’s setup instructions.
Installing the Virtual Front Desk Printer App
Download the VFD Printer App
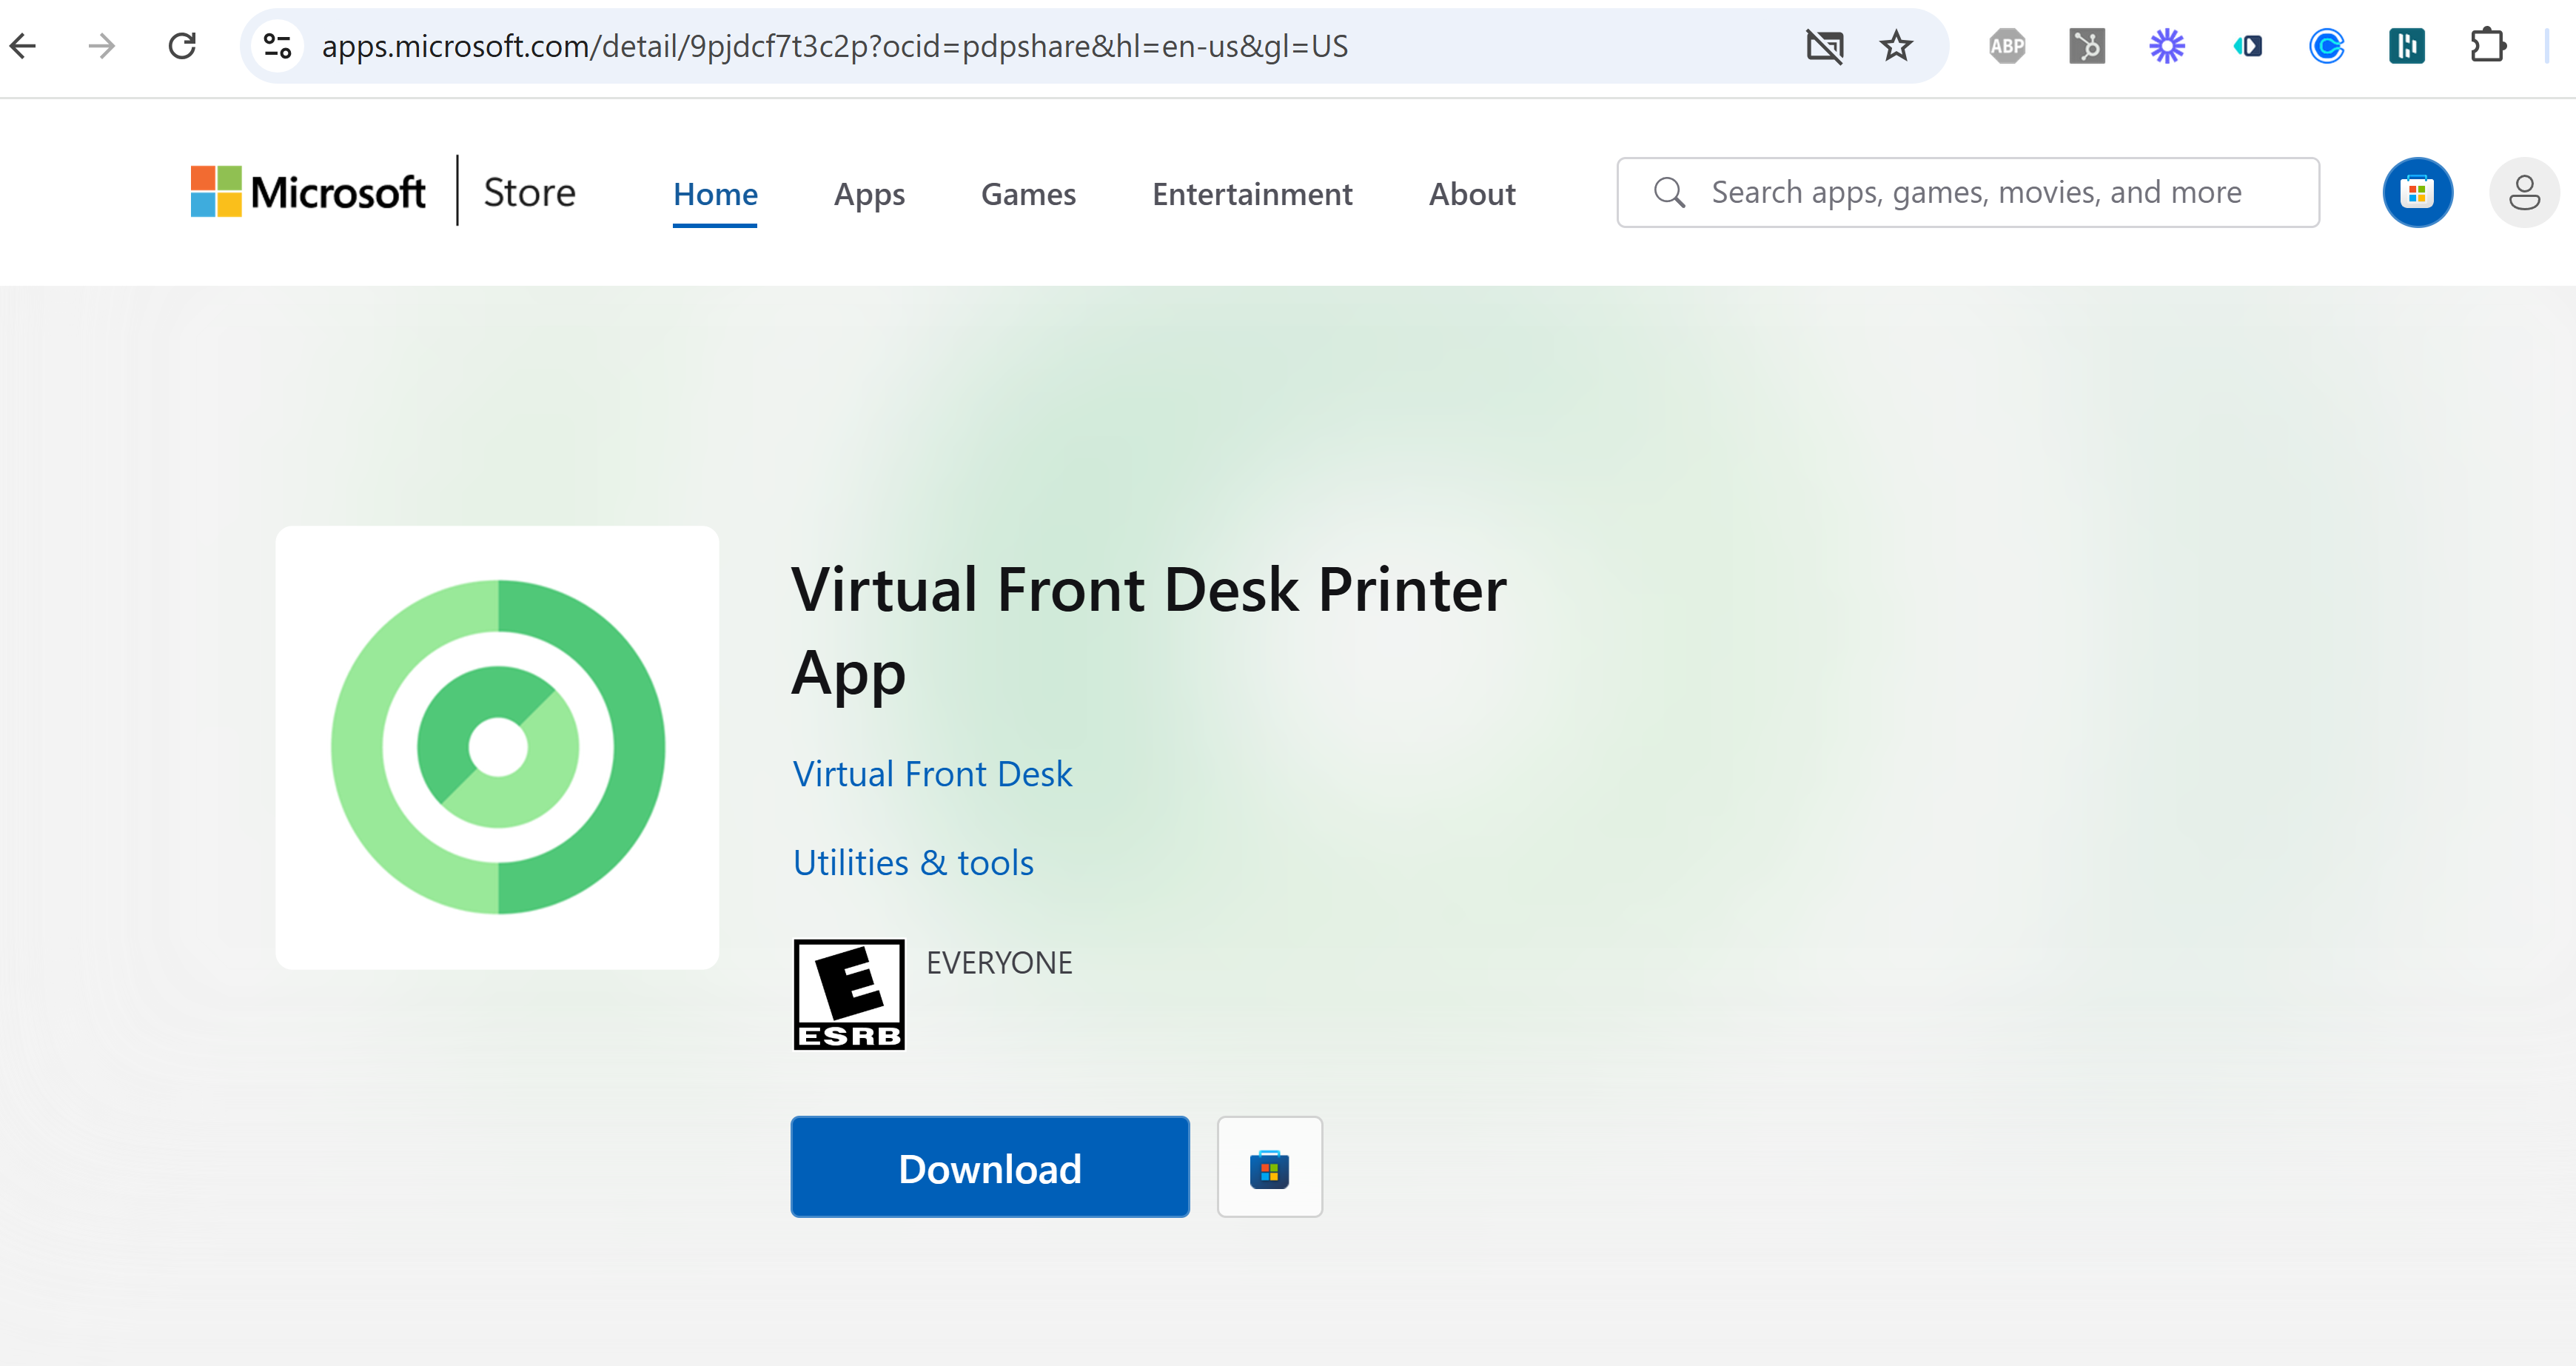
- Access the VFD Printer App on the Microsoft Store using the following link: Download VFD Printer App.
- Install the app on the Windows computer connected to your printers.
Enter Location ID Code, and global admin email
- Once installed, the app will prompt you to enter a Location ID code and the global admin email of your account. Proceed to the next steps to retrieve your Location ID.
- Make sure you have the latest update.
Configuring the Printer in the Virtual Front Desk Dashboard
Log In
- Sign in to your VFD Dashboard.
Access Printer Settings
- Select the location where you’d like to add a printer. Open the editor. Printers are at the location level to allow multiple Station to use the same Printer. If you need one printer per station, create one location per station.
- Navigate to the Printer section.
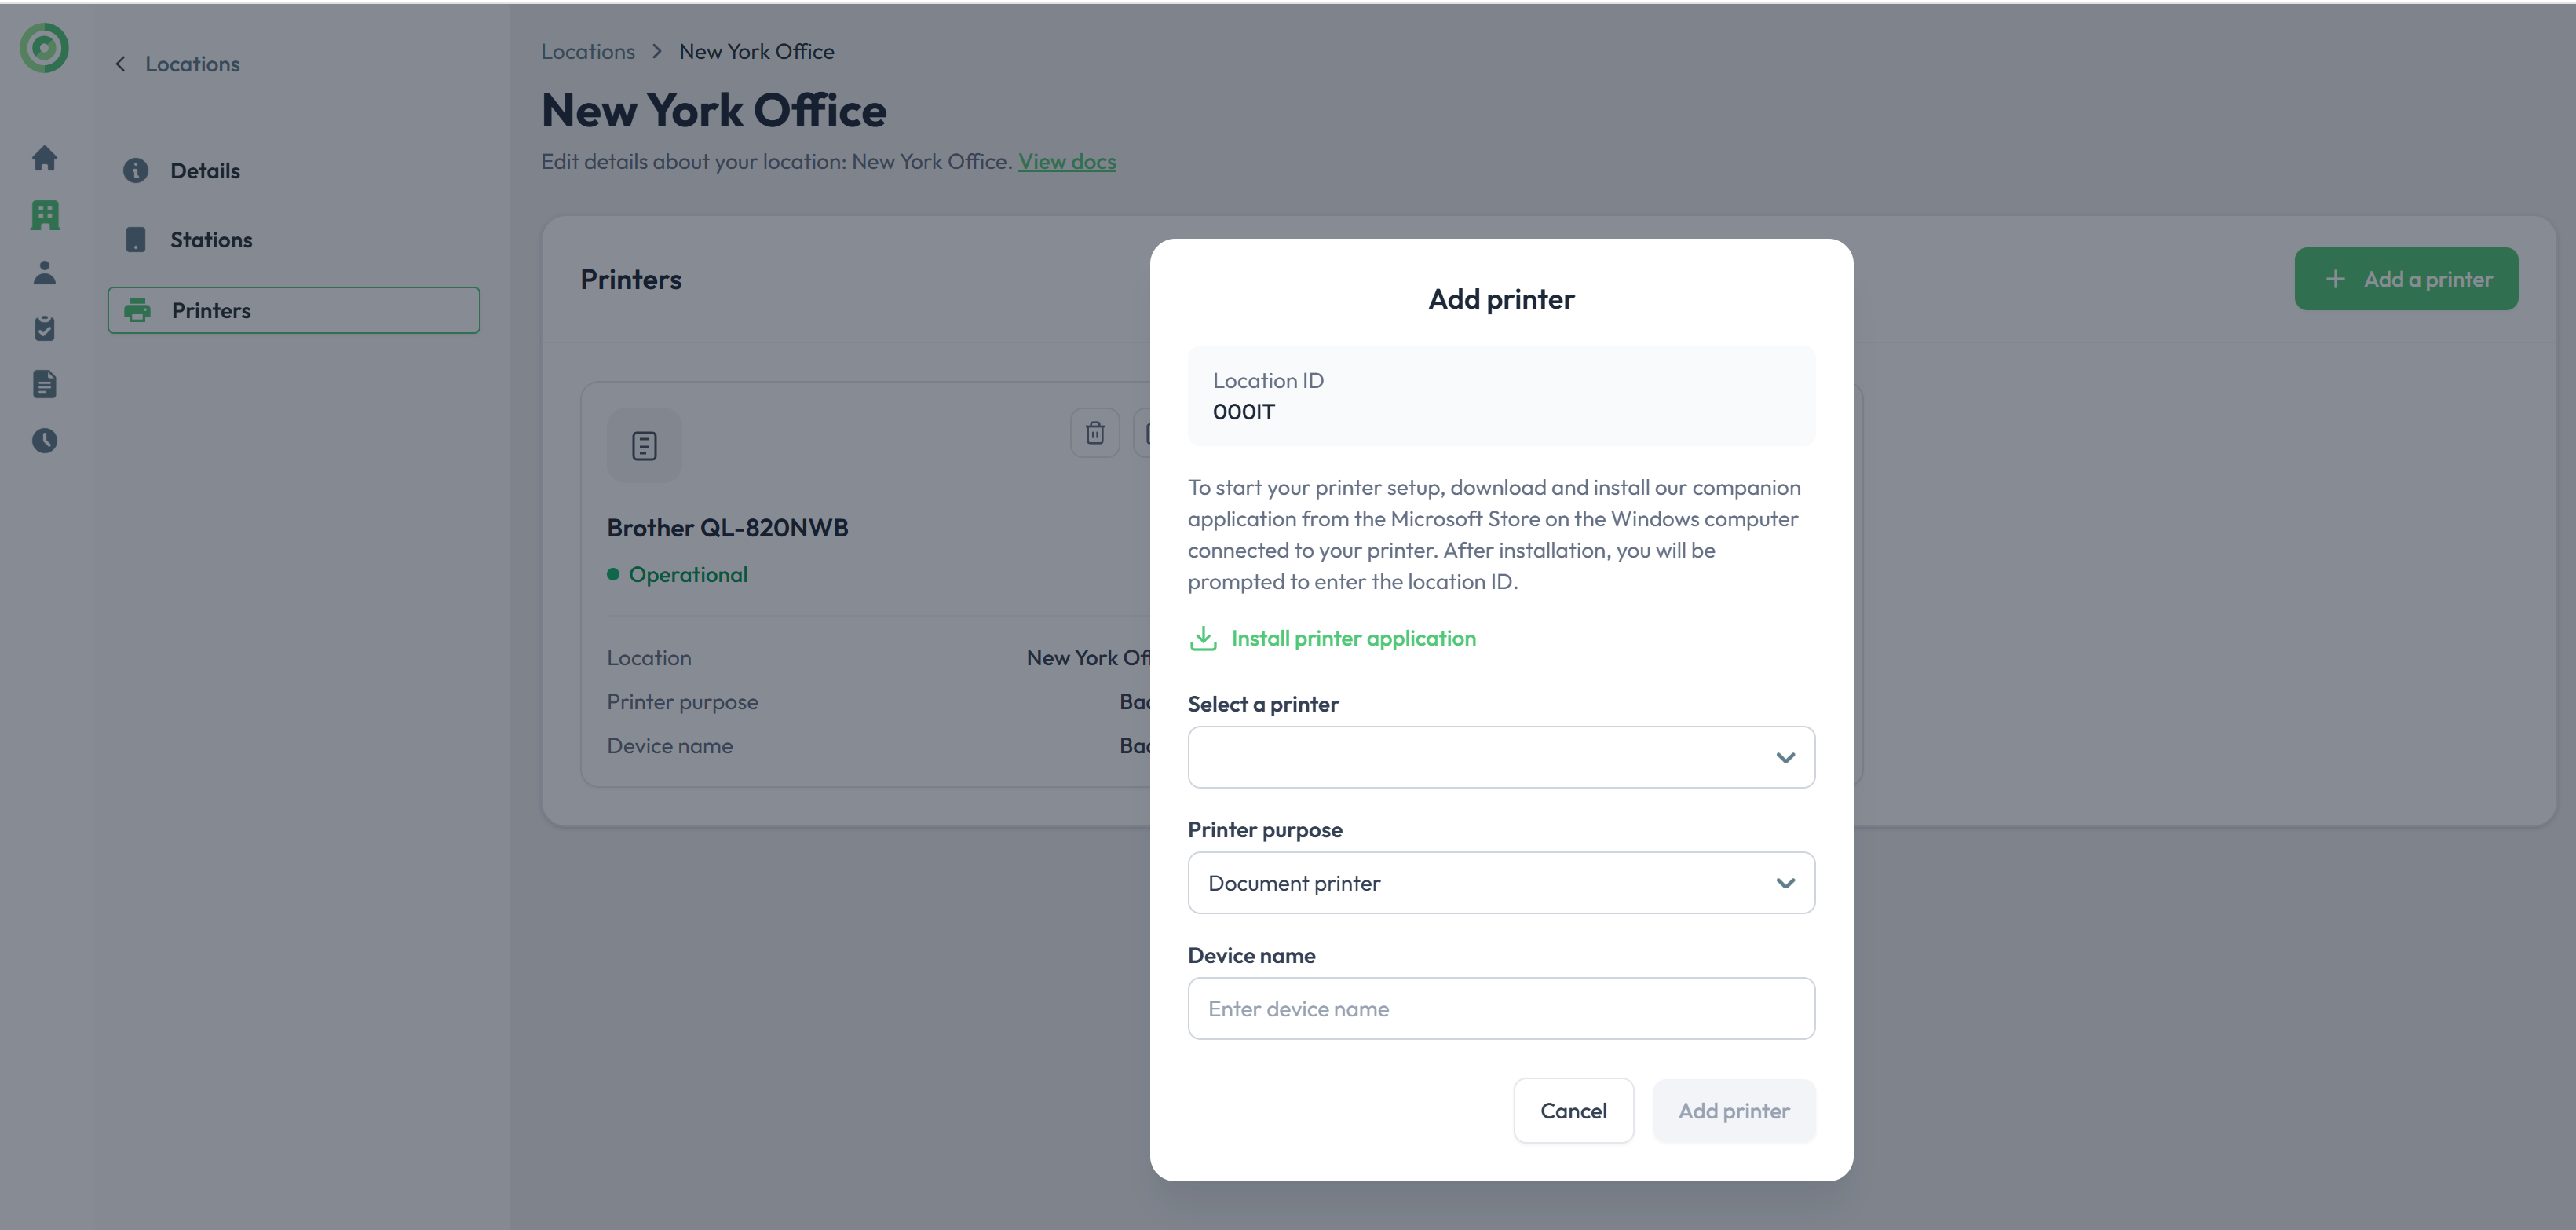
- Click Add a printer.
Add a Printer
- Click Add Printer.
- Locate the Location ID.
- Enter the Location ID into the VFD Printer App on your Windows computer.
Select and Configure the Printer
- Choose the printer you want to add from the list.
- Assign a name to the printer.
- Indicate whether it will be used for Badge Printing or Document Printing.
Save Changes
- Click Save Changes to finalize the setup.
- Your printer is now ready to use!
Adding Additional Printers
To add another printer:
- Repeat the steps above for each printer you want to configure.
- All stations in this location will automatically connect to the newly added printers and be ready to send printing tasks.
By following these steps, you can easily manage and configure printers for seamless operation with Virtual Front Desk.
Setting Up Badge Printing on Your Visitor Sign-In Form
Access the Sign-In Forms Menu
- Log in to your VFD Dashboard.
- Navigate to the Sign-In Forms section.
Create a New Sign-In Form
- Click on Create New Sign-In Form.
- Fill in the necessary details for your form.
Enable Badge Printing
- In the form settings, locate the Badge Printing option.
- Toggle the option to Enable badge printing.
- Configure your badge by customizing its design and the information fields.
Save Your Changes
- Click Save to apply your settings.
- Your sign-in form is now set up to print badges automatically when visitors check-in.
Printing Documents During a Live Video Call
To print a document while on a video call:
Upload the Document
- Before the Call:
- Go to the Documents section in your dashboard.
- Upload the PDF documents you may need during the call.
- During the Call:
- Use the upload option within the video call interface to select or upload a document on the spot.
Send to Printer
- Once the document is uploaded, click on the Send to Printer button.
- The document will be sent to your connected printer and printed immediately.
Troubleshooting Guide: Printer Status "Not Operational"
If your printer status shows "Not Operational," it typically indicates one of the following issues:
The Virtual Front Desk Printer App on Your Windows Computer Is Closed or Not Functioning Properly
- Solution: Close and reopen the app. If the issue persists, uninstall and reinstall the app to ensure it is working correctly. Make sure the app is updated to the latest version. Download VFD Printer App.
Your Printer Is Disconnected From Your Computer or the Network
- Solution: Verify that all connections are secure. Ensure the printer is connected to your computer or network. After checking, refresh your Dashboard to update the status to "Operational."
