*Read first: Creating Stations
Locations
Locations are physical addresses where you can manage one or multiple stations. Start by creating a location, and then add stations to it. The pictures and addresses of your locations are for internal use. Virtual Front Desk is ideal for efficiently managing multiple locations under a single account.
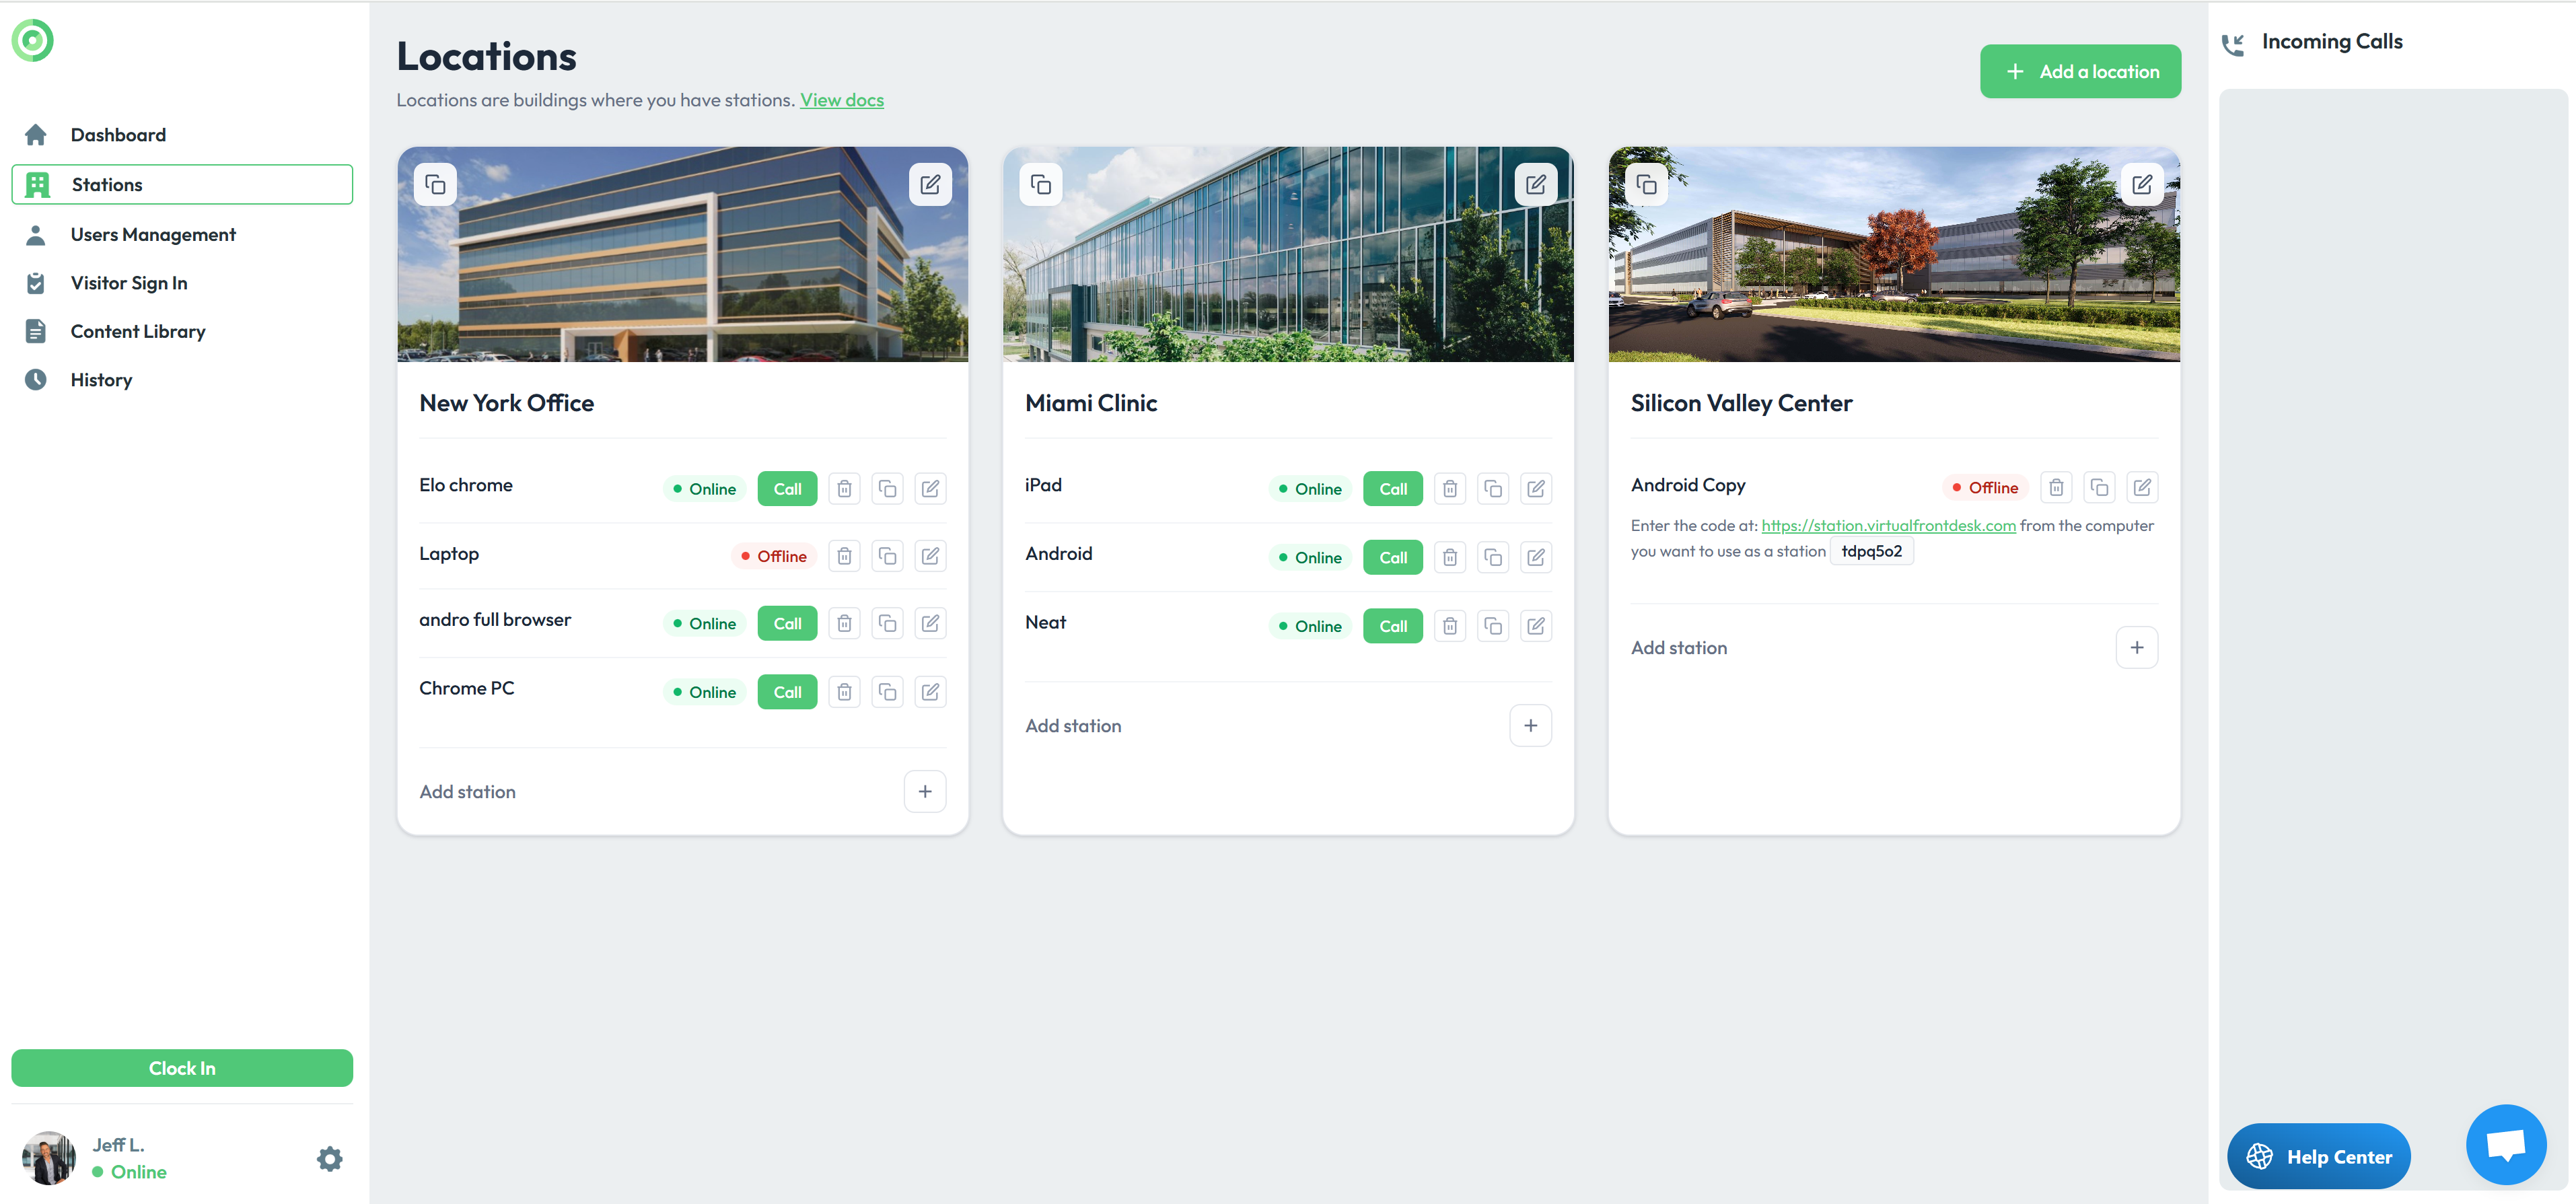
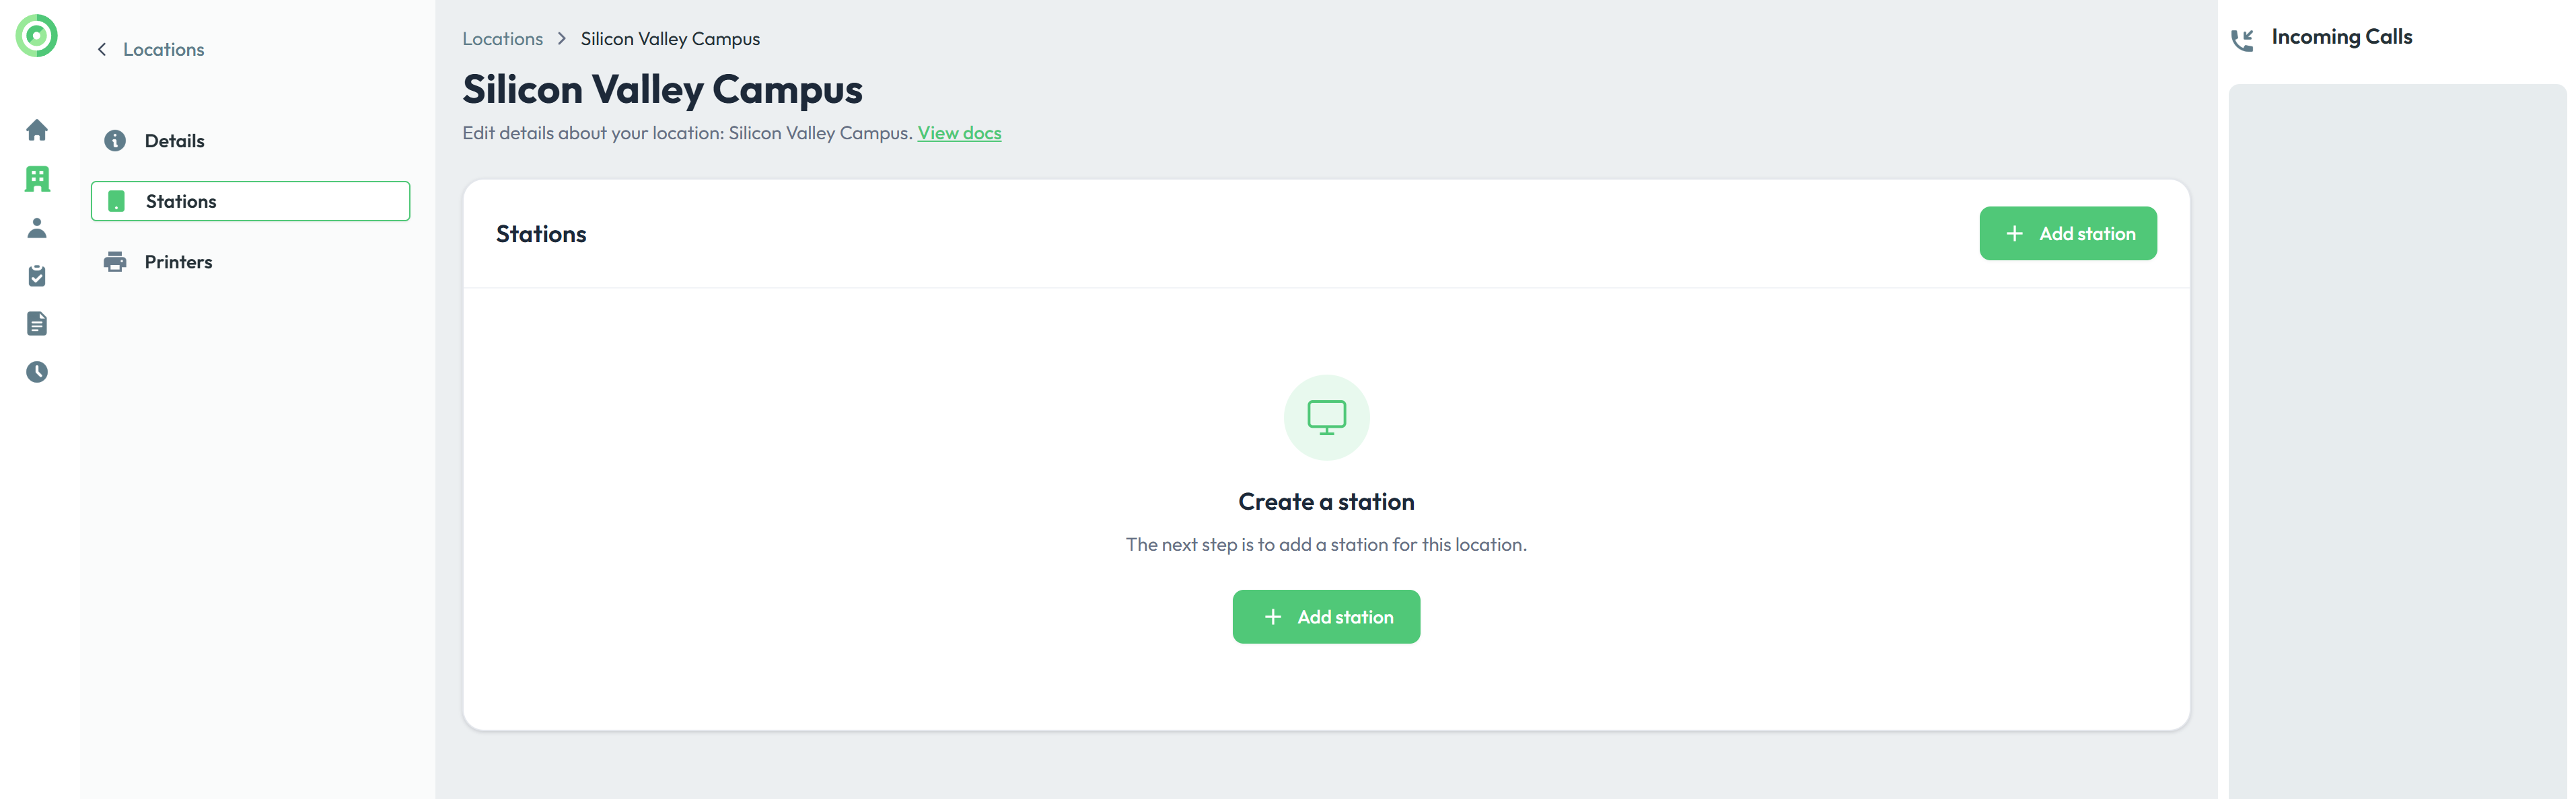
Stations
Click Add Station to create a station for this location.
Follow steps 1–3 to configure the station’s design and the action buttons you want to display.
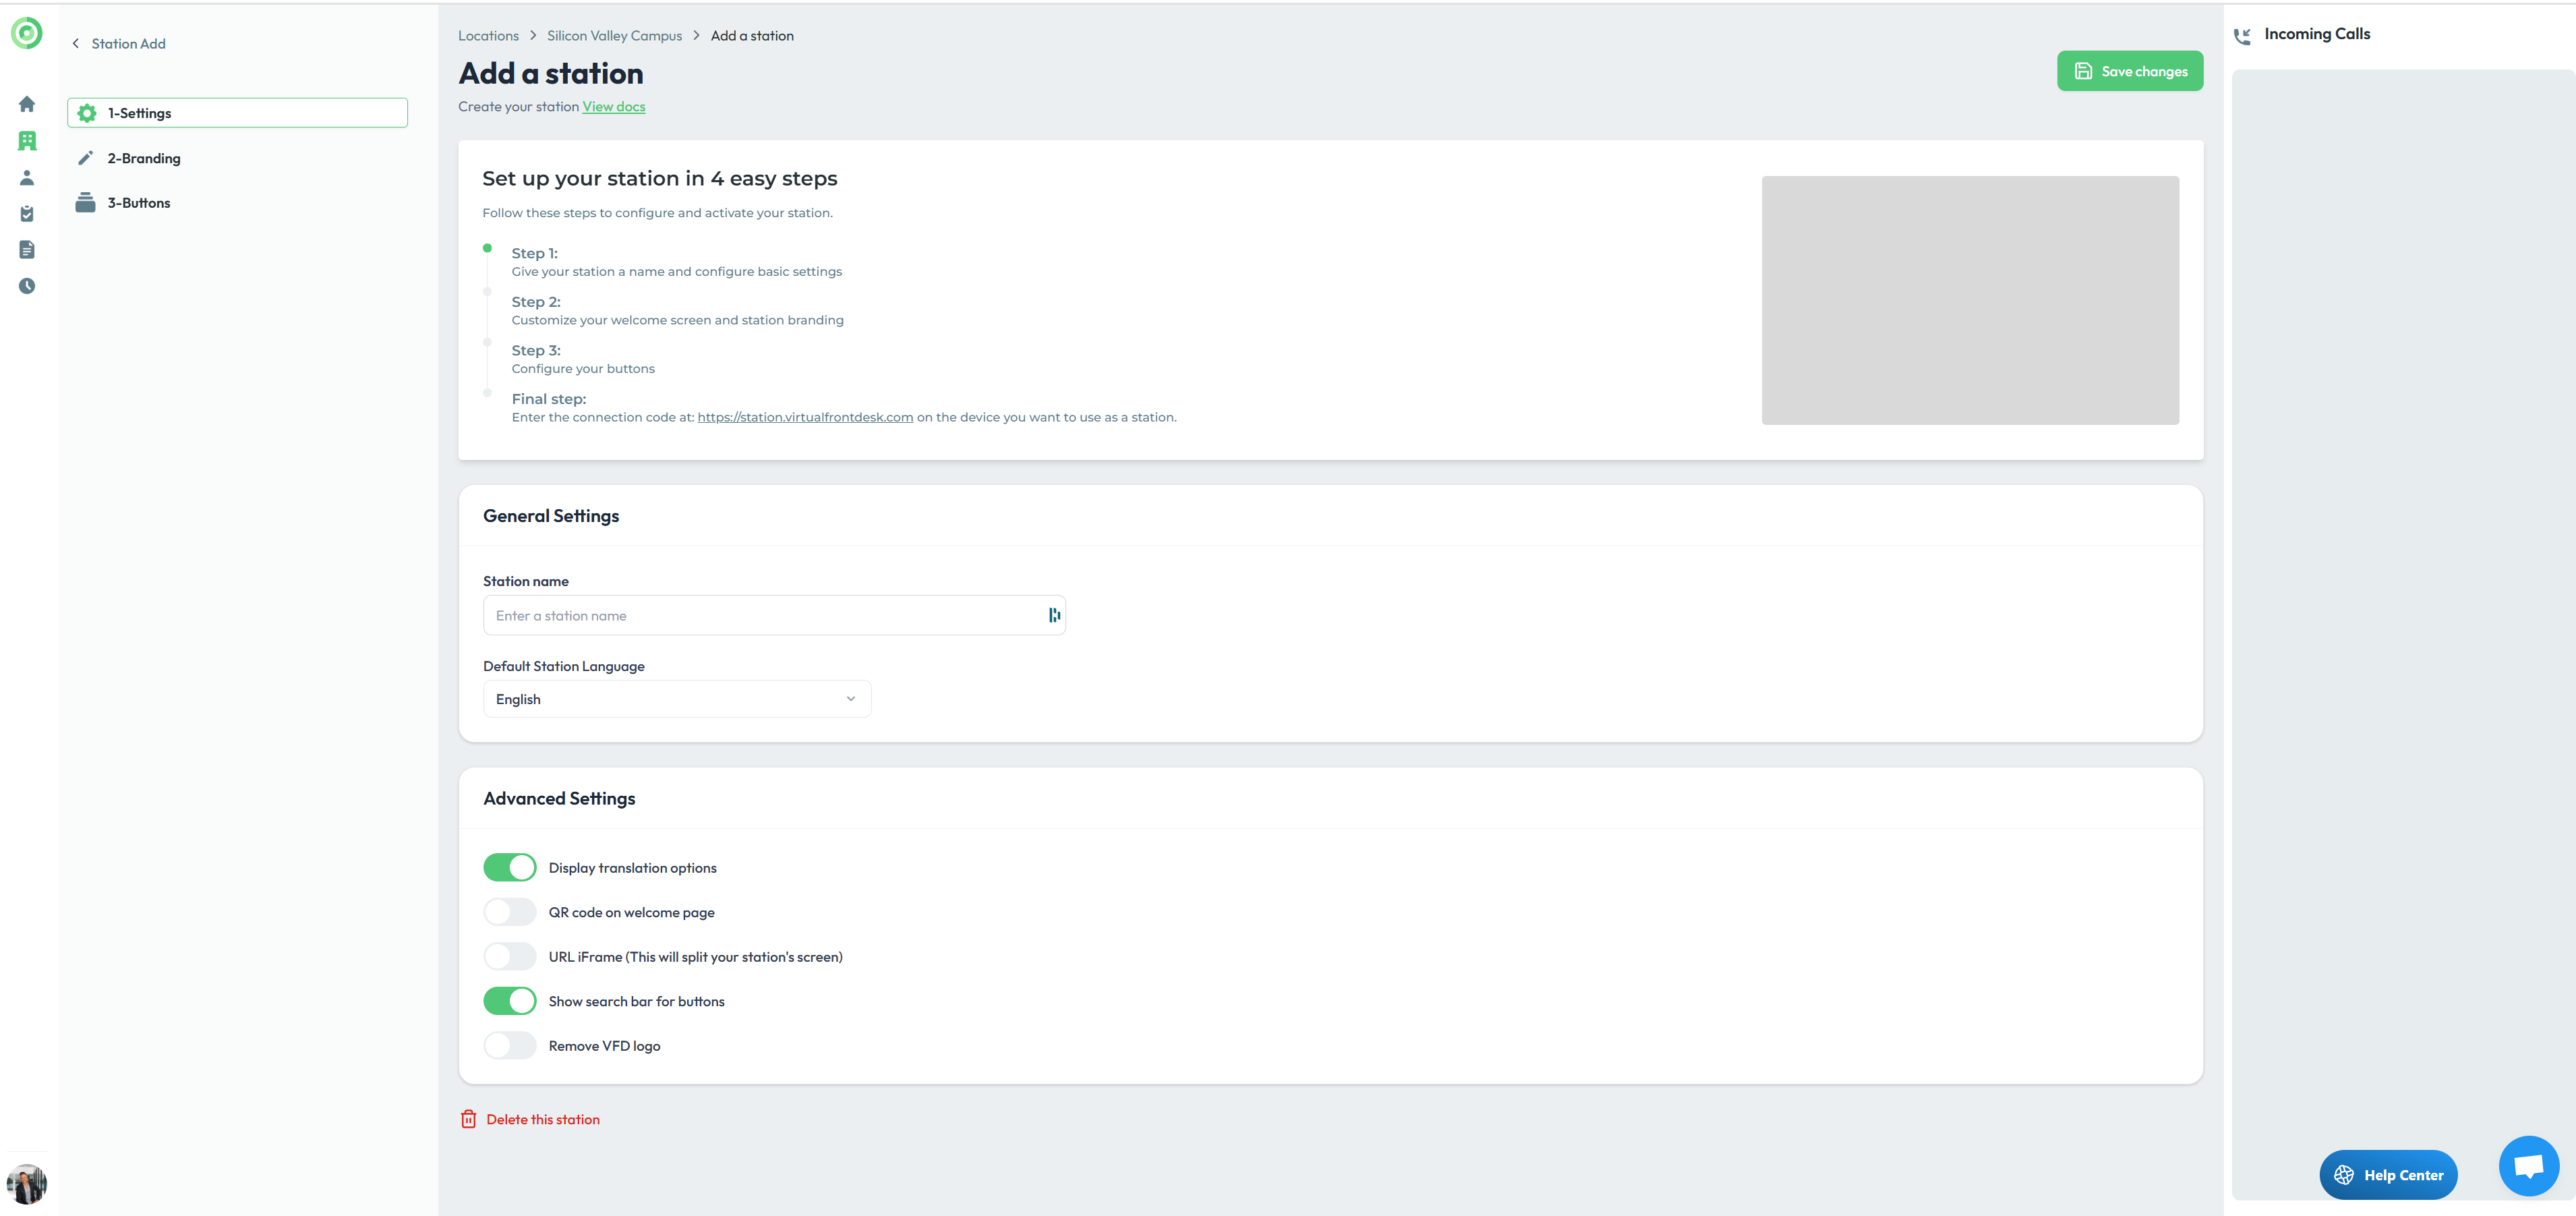
Once the setup is complete, enter the station’s connection code at station.virtualfrontdesk.com on the device you want to use as your station.
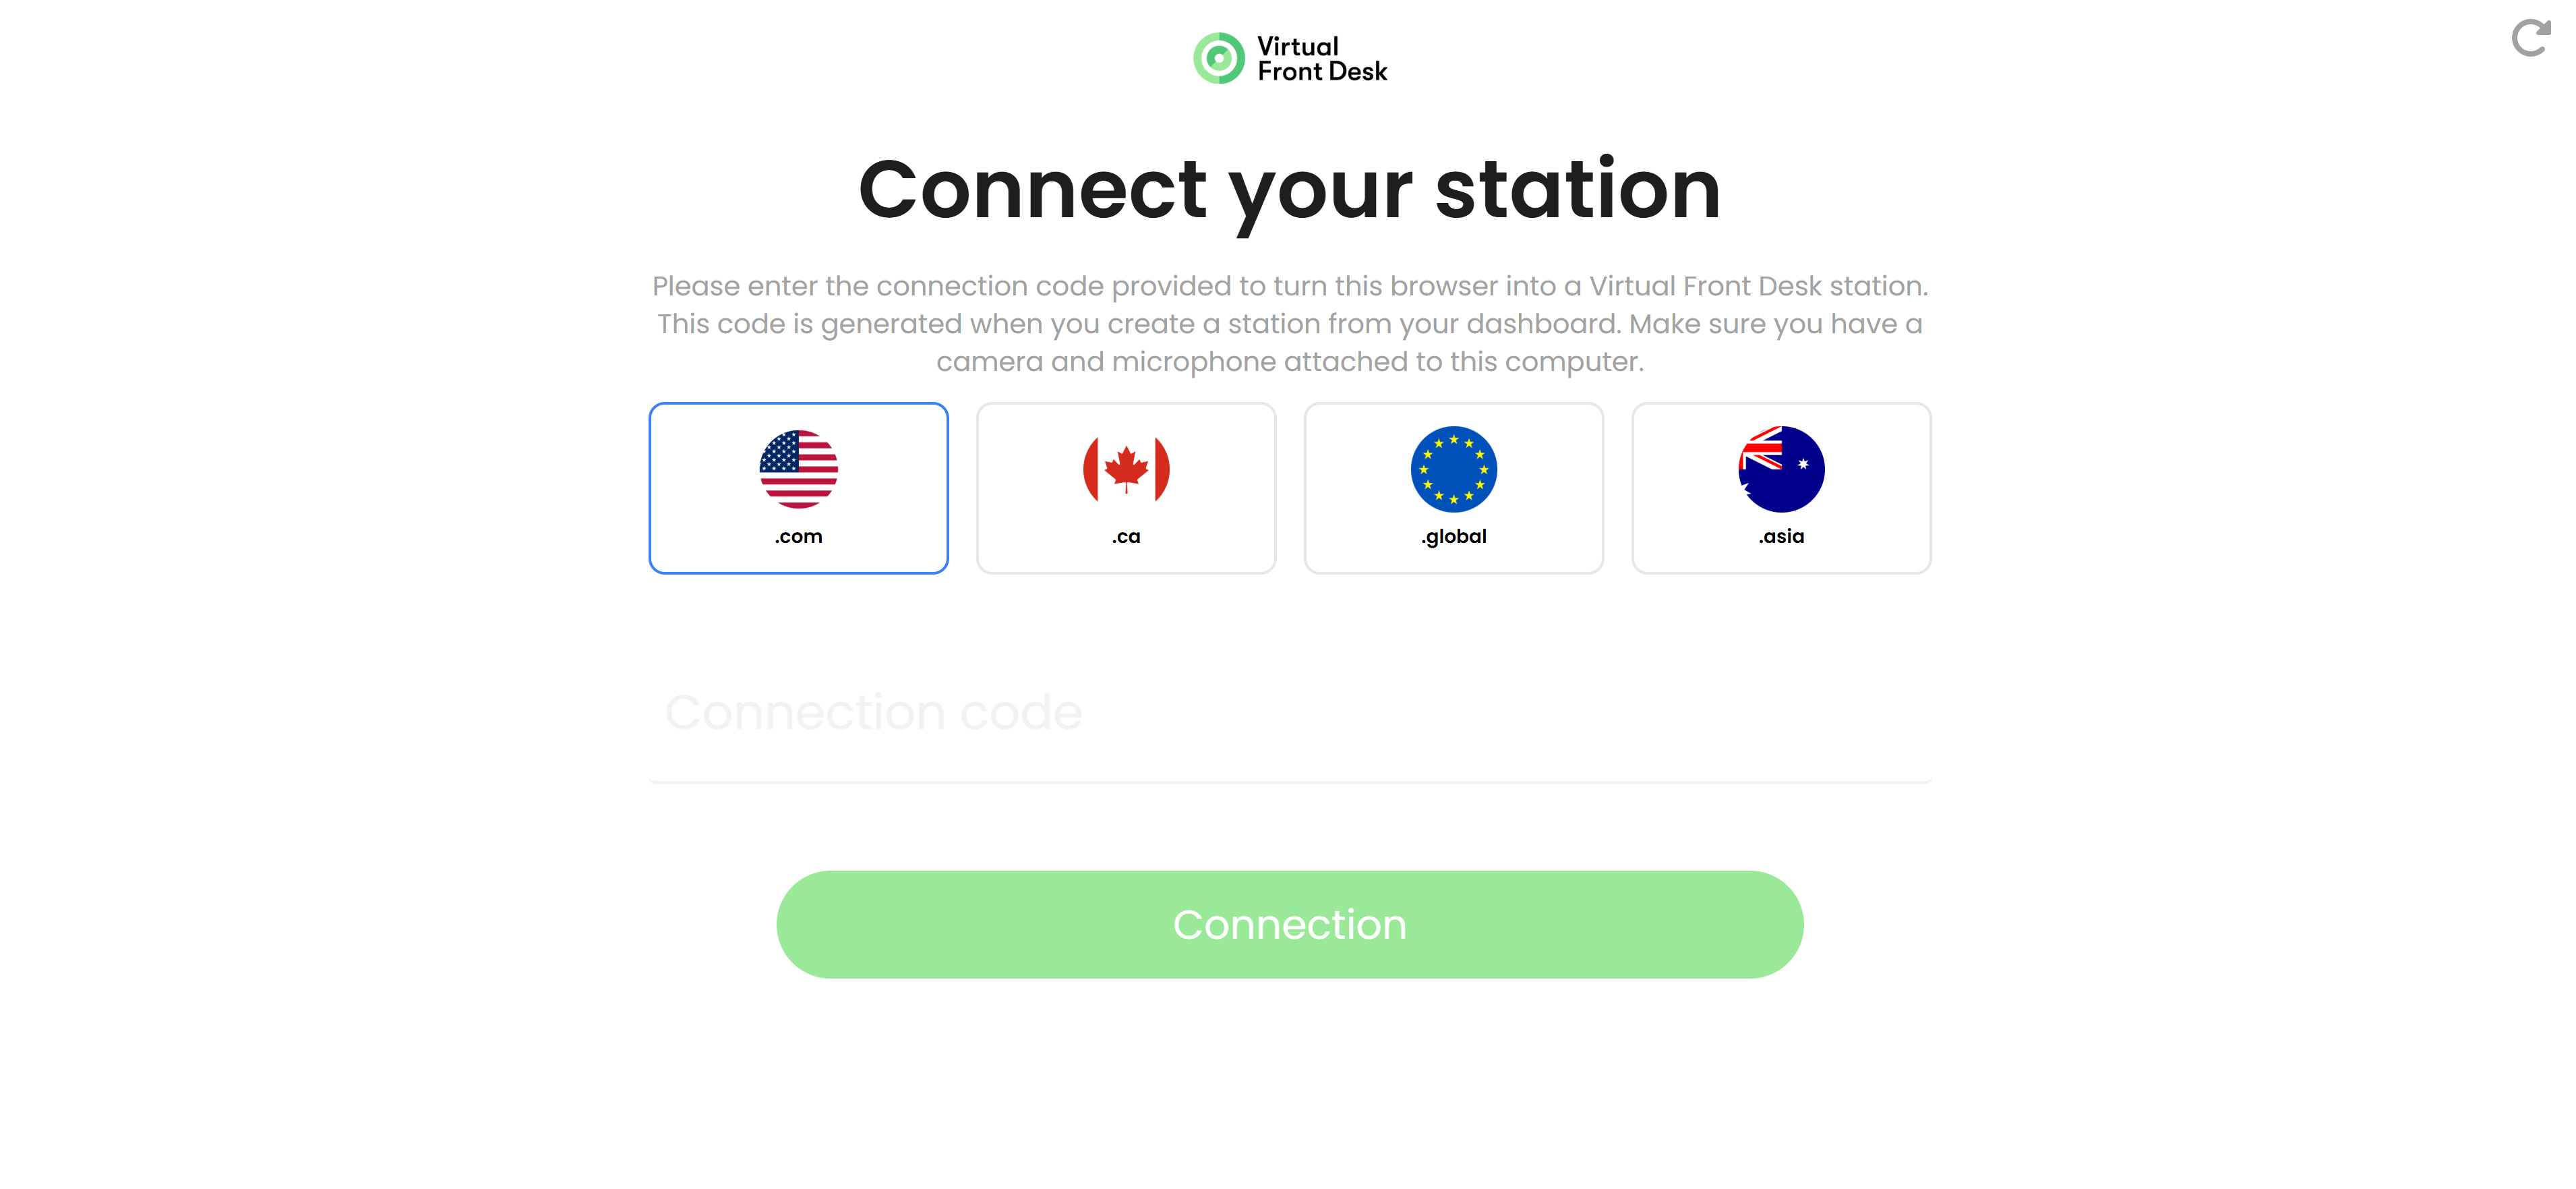
Connection codes are single-use. If the station asks for a new code (for example, if the browser cache was cleared), you can duplicate the existing station to generate a new code, then delete the old station to avoid overcharges. The system charges per activated station, even if a station is offline.
If you are using a different region (for example, app.virtualfrontdesk.global), be sure to use the matching station URL (station.virtualfrontdesk.global) so it aligns with your dashboard region.
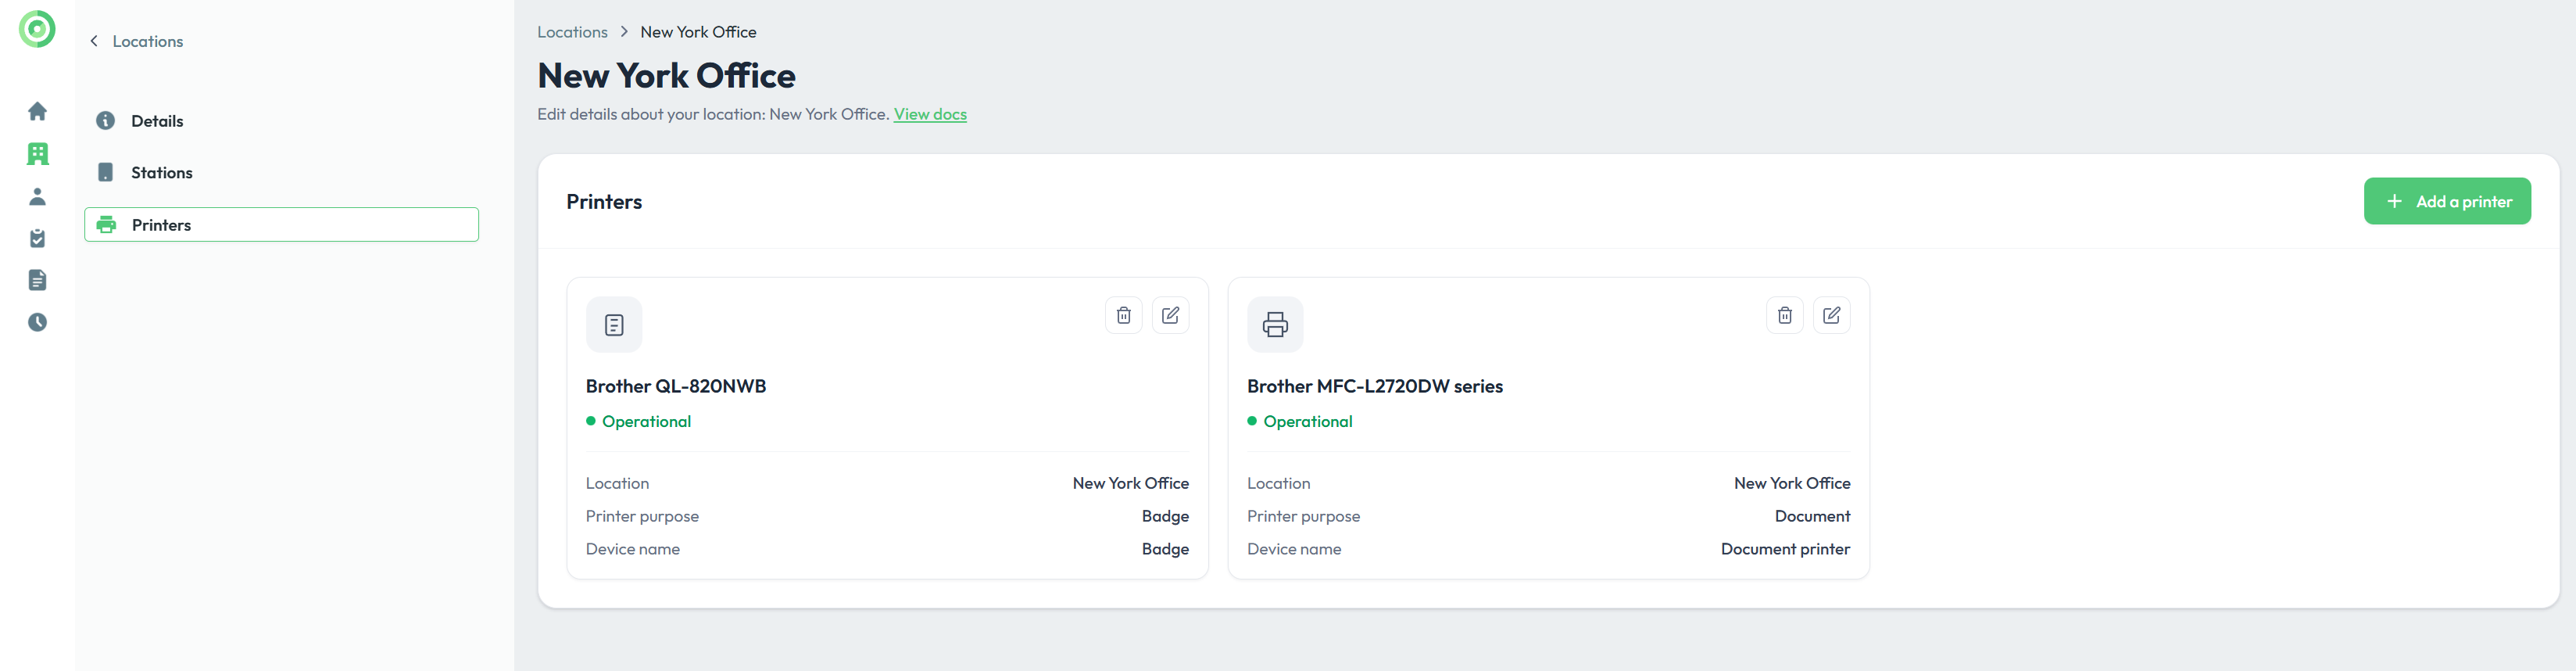
Badge and document printers are configured at the location level, since multiple stations can share the same printer. If you prefer to have one printer per station, create a separate location for each station.
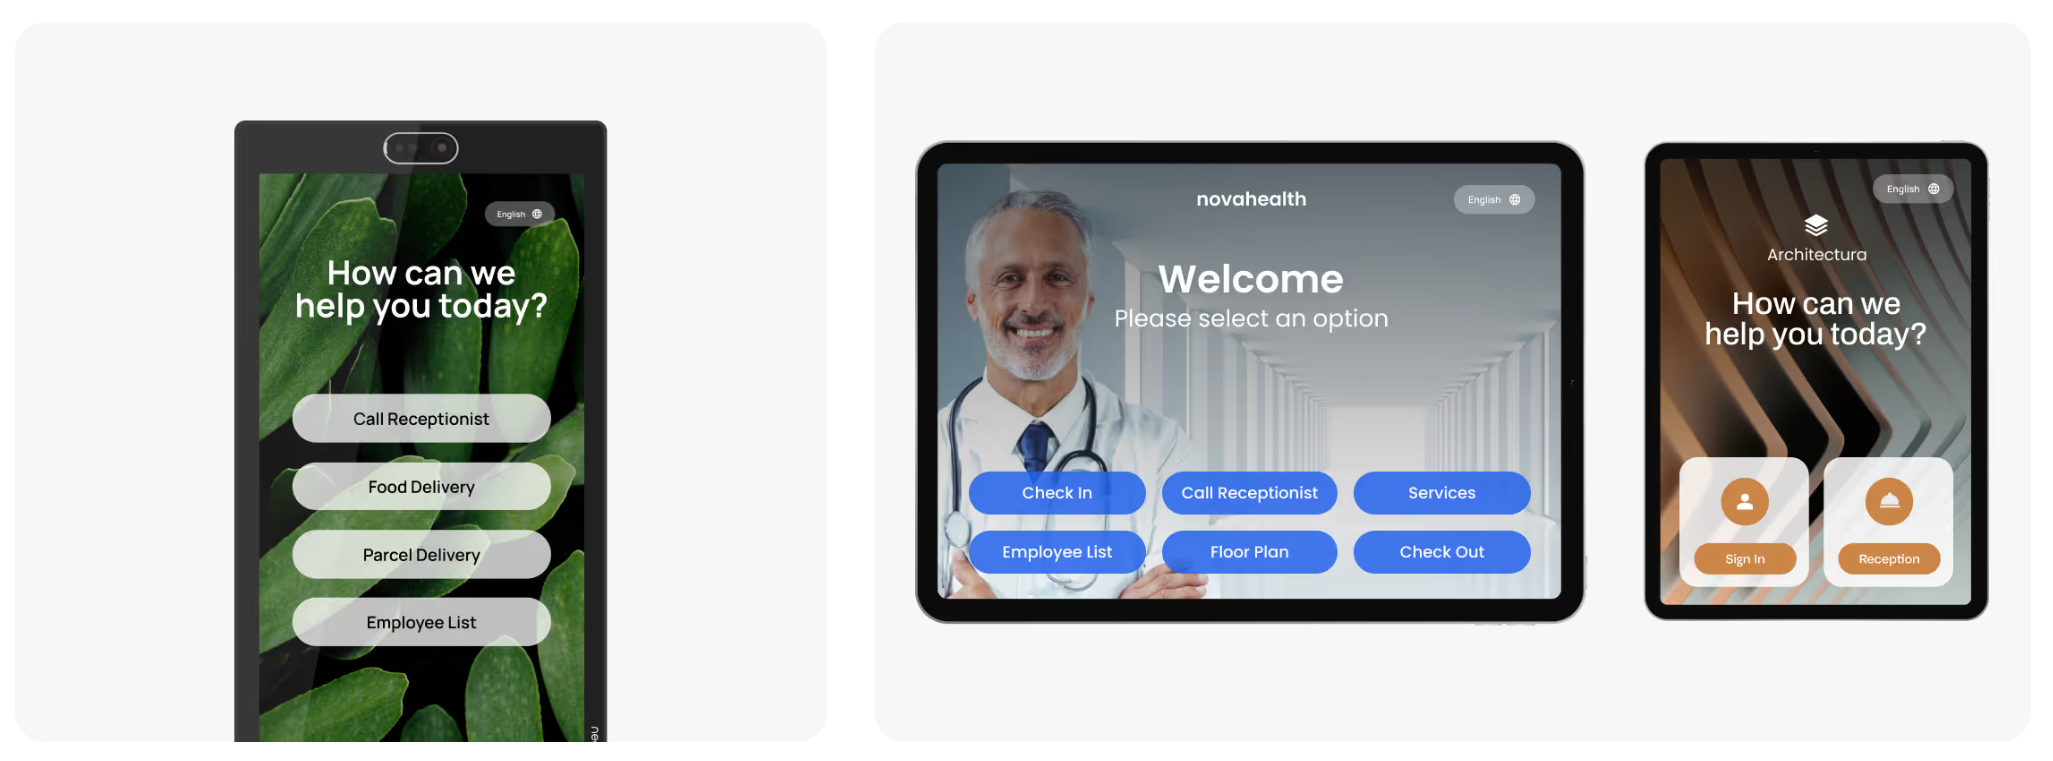
Buttons: multiple actions to choose from
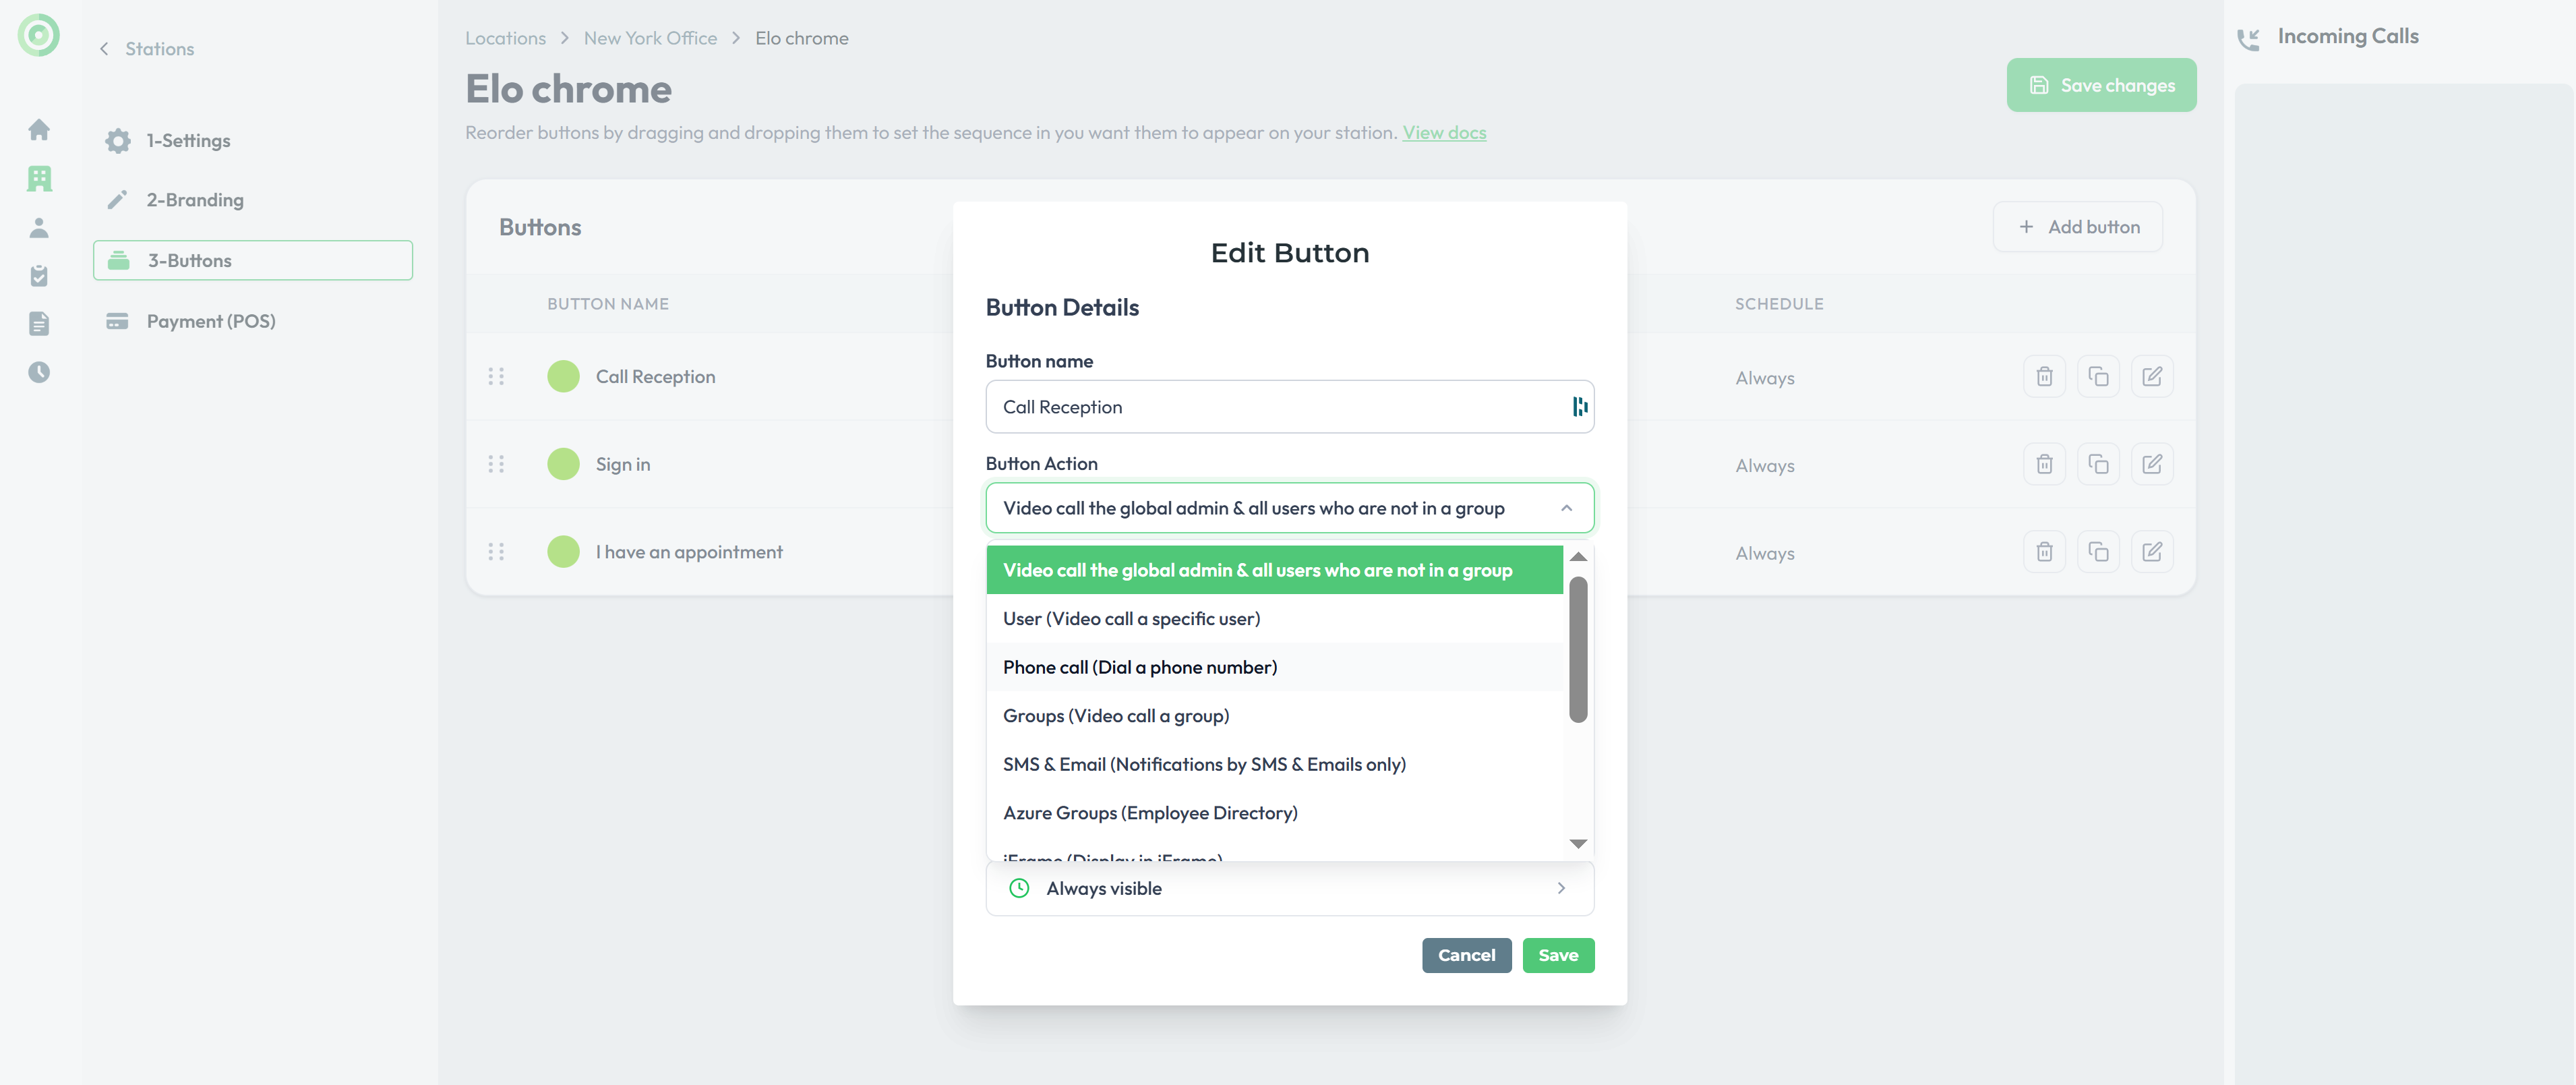
Video call the owner & all users who are not in a group
The owner and all online users who are not assigned to a group will receive notifications simultaneously on their dashboards. If no one answers the video call within 30 seconds, the system will automatically dial the default phone number defined in the global admin’s call forwarding settings, based on your configured preferences. Please note that if Microsoft Teams integration is enabled, this function will only video call the owner.
User
Sends a video call notification to a specific user, either in our web app or in MS Teams. You can select multiple users to create a submenu. If a user is unavailable for a video call, the system can automatically send an SMS, send an email notification, or dial the user’s phone number, based on the preferences set in the user’s settings. SMS and email notifications are not supported for Microsoft Teams users.
Phone Call
Enter a phone number to place a standard phone call.
Groups
This will notify the group according to your configured preferences, either for group calling or serial (call queue). Please note that for MS Teams users, call queue is set by default to avoid conference calling. To enable group calling with MS Teams, follow these steps: create a call queue in your Microsoft Teams admin account, import this call queue as a regular user, and activate the 'MS Teams Call Queue' option in the User Tab. Please ensure that each user has an MS Teams Phone Standard license for the integration to work.
Azure Groups (AAD Employee directory)
This option allows you to display users from a selected Azure group. You can choose to show a full list or enable a search box, allowing visitors to look up who they’re meeting for added confidentiality.
Note: You can sync your Azure group with a single click under the "Azure Group" tab in your dashboard.
PDF
Displays a PDF on the station screen. Select multiple PDFs to create a submenu. (Upload PDFs from the Content library tab.) Trick: Add a QR code in your PDF design to share the pdf with the visitor!
QR Code
Displays a QR Code on the station screen. Select multiple QR Codes to create a submenu. (Upload QR Codes from the Content library tab.)
Visitor sign in
Starts the selected visitor sign in form. Select multiple Sign in forms to create a submenu. (Create your Sign in forms from the Visitor sign in tab.) Visitors can pre register and express sign in at the station with a QR code or 4 digit code.
Sign out
Displays the sign-out form where previously signed-in visitors are prompted to enter the first three letters of their name, select their name from the generated list, and complete the sign-out process. The sign-out form is an optional feature that can be enabled when setting up your Visitor Sign-In Form.
Notifications
Sends an email and an SMS text.
iFrame
You can display various URLs such as online fillable forms (e.g., JotForm), websites, or certain web applications like Google Calendar within an iFrame alongside the Virtual Front Desk app. However, please note that iFrames do not support redirections. If the embedded content includes actions that redirect to a different URL, it will cause the iFrame to break. Therefore, ensure that any website, form, or web app you wish to display within an iFrame does not perform actions that redirect outside of the original domain's URLs.
First, upload the iFrame URL under the Content library section. Once uploaded, select it as the action for your button.
Please note that iFrames can also be used in various other ways, such as:
- During a live call
- In a Visitor Sign-in Form
- Under your Station Branding section, where you can split the screen to display the iFrame alongside your welcome screen.

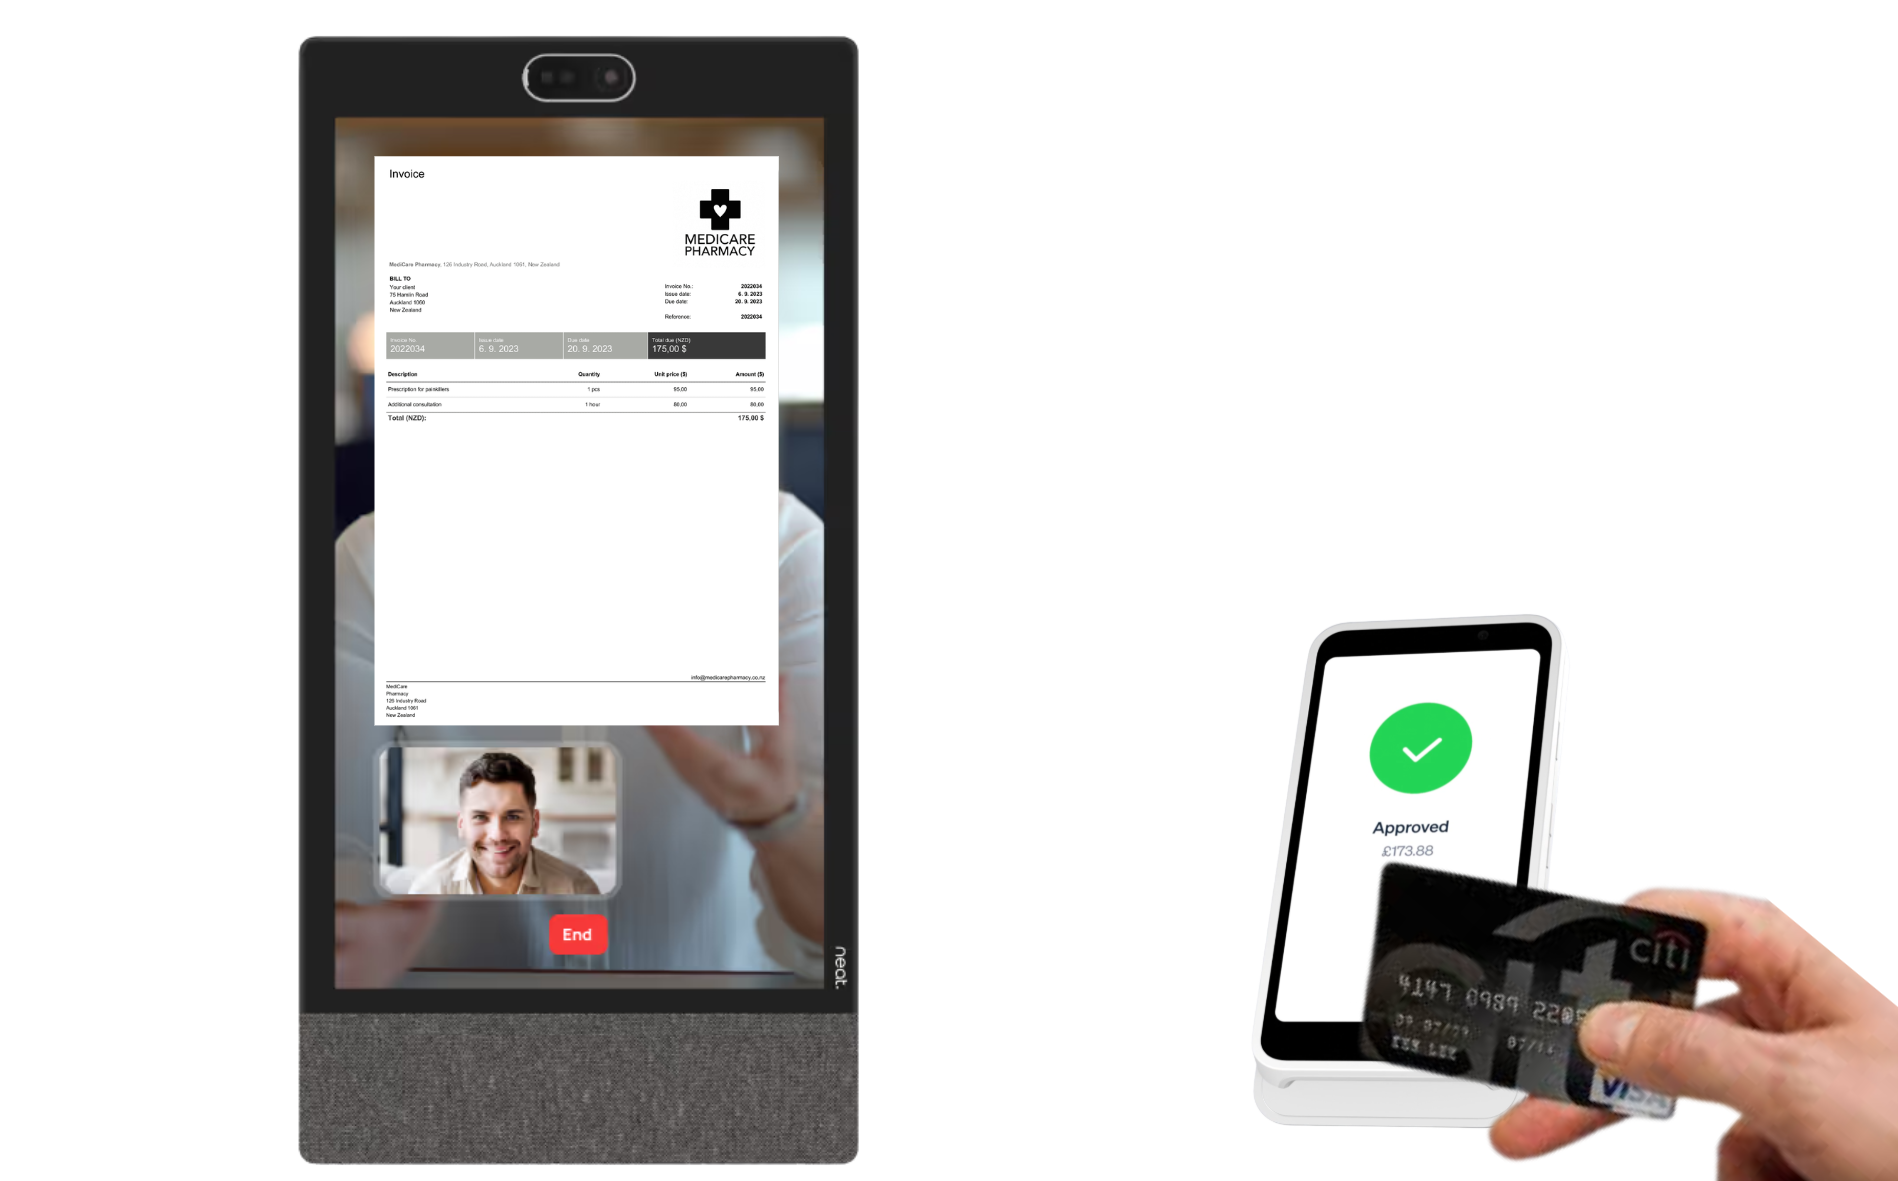
POS: Request payments with a Stripe terminal.
Virtual Front Desk offers full integration with the Stripe S700 terminal. Pair it to a station in just a few clicks and start accepting credit card payments while on a video call with a customer.