Sign up, Regions and Sign in Options
Sign up, Regions and Sign-in Options
Choose the right region and the sign-in method that suits your organization.
When you create a Virtual Front Desk account, two choices matter from the start: the region where your data is hosted, and how you and your users sign in.
Step 1: Choose your region
Pick the region closest to your business. This gives you faster connections and keeps your data hosted in the right Microsoft Azure region.
| Region | Dashboard address | Hosting |
|---|---|---|
| United States | app.virtualfrontdesk.com | United States |
| Canada | app.virtualfrontdesk.ca | Canada |
| Global (EU) | app.virtualfrontdesk.global | Germany, for GDPR compliance |
| Asia (AU) | app.virtualfrontdesk.asia | Australia |
You can choose the region from the Region menu at the top of the sign-in page. Selecting a region takes you to that region’s address.
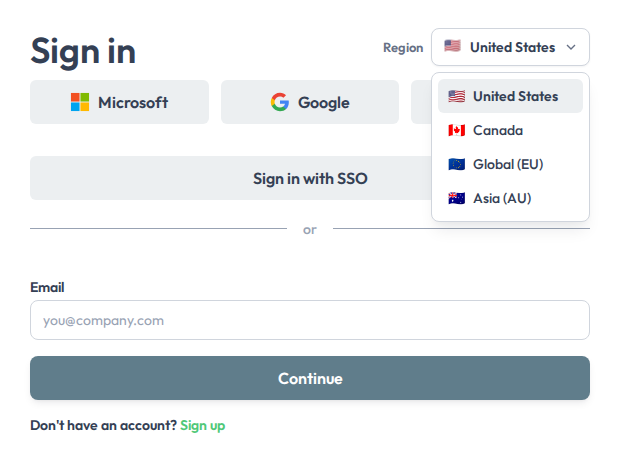
The Region menu on the sign-in page
The Region menu on the sign-in page
Important: once you choose a region, all users and stations must use that same region. For example, if your account is in the United States, your users sign in at app.virtualfrontdesk.com and your stations connect through station.virtualfrontdesk.com.
Step 2: Create your account
On the sign-in page, click Sign up, check that the right region is selected, enter your work email and click Continue.
You can also create your account in one click: on the sign-in page, choose your region, then click Microsoft, Google or Apple. Your account is created the first time you sign in.
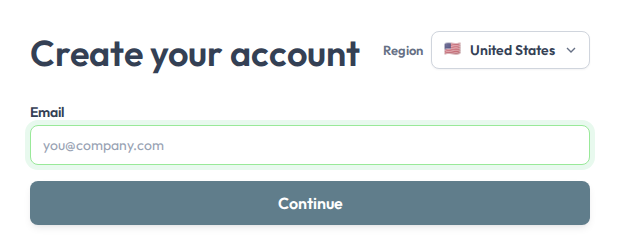
The Create your account page
The Create your account page
Step 3: Choose how to sign in
The sign-in page offers several options:
- Microsoft: ideal if your organization uses Microsoft 365 or Microsoft Entra ID (Azure AD).
- Google: ideal if your organization uses Google Workspace.
- Apple: sign in with your Apple account.
- Sign in with SSO: for organizations that use single sign-on through an identity provider such as Okta. To learn more, read OKTA integration SSO sign in.
- Email: enter your email address and click Continue to sign in with your email and password.
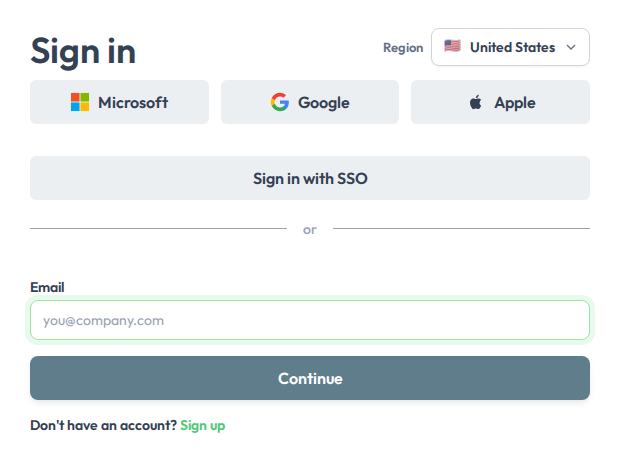
The sign-in options
The sign-in options
Adding users from Microsoft Entra ID (Azure AD)
If you sign in with Microsoft, you can connect Virtual Front Desk to your Microsoft Entra ID (Azure AD) directory and import users without typing them in one by one. To connect, click the Settings icon (the gear) next to your name, then under Organization, select Integrations. You are asked to accept the Microsoft permissions request and choose how much of your directory Virtual Front Desk can read:
- All Users: everyone in your directory is visible.
- Groups Only: only the specific Azure groups you belong to appear.
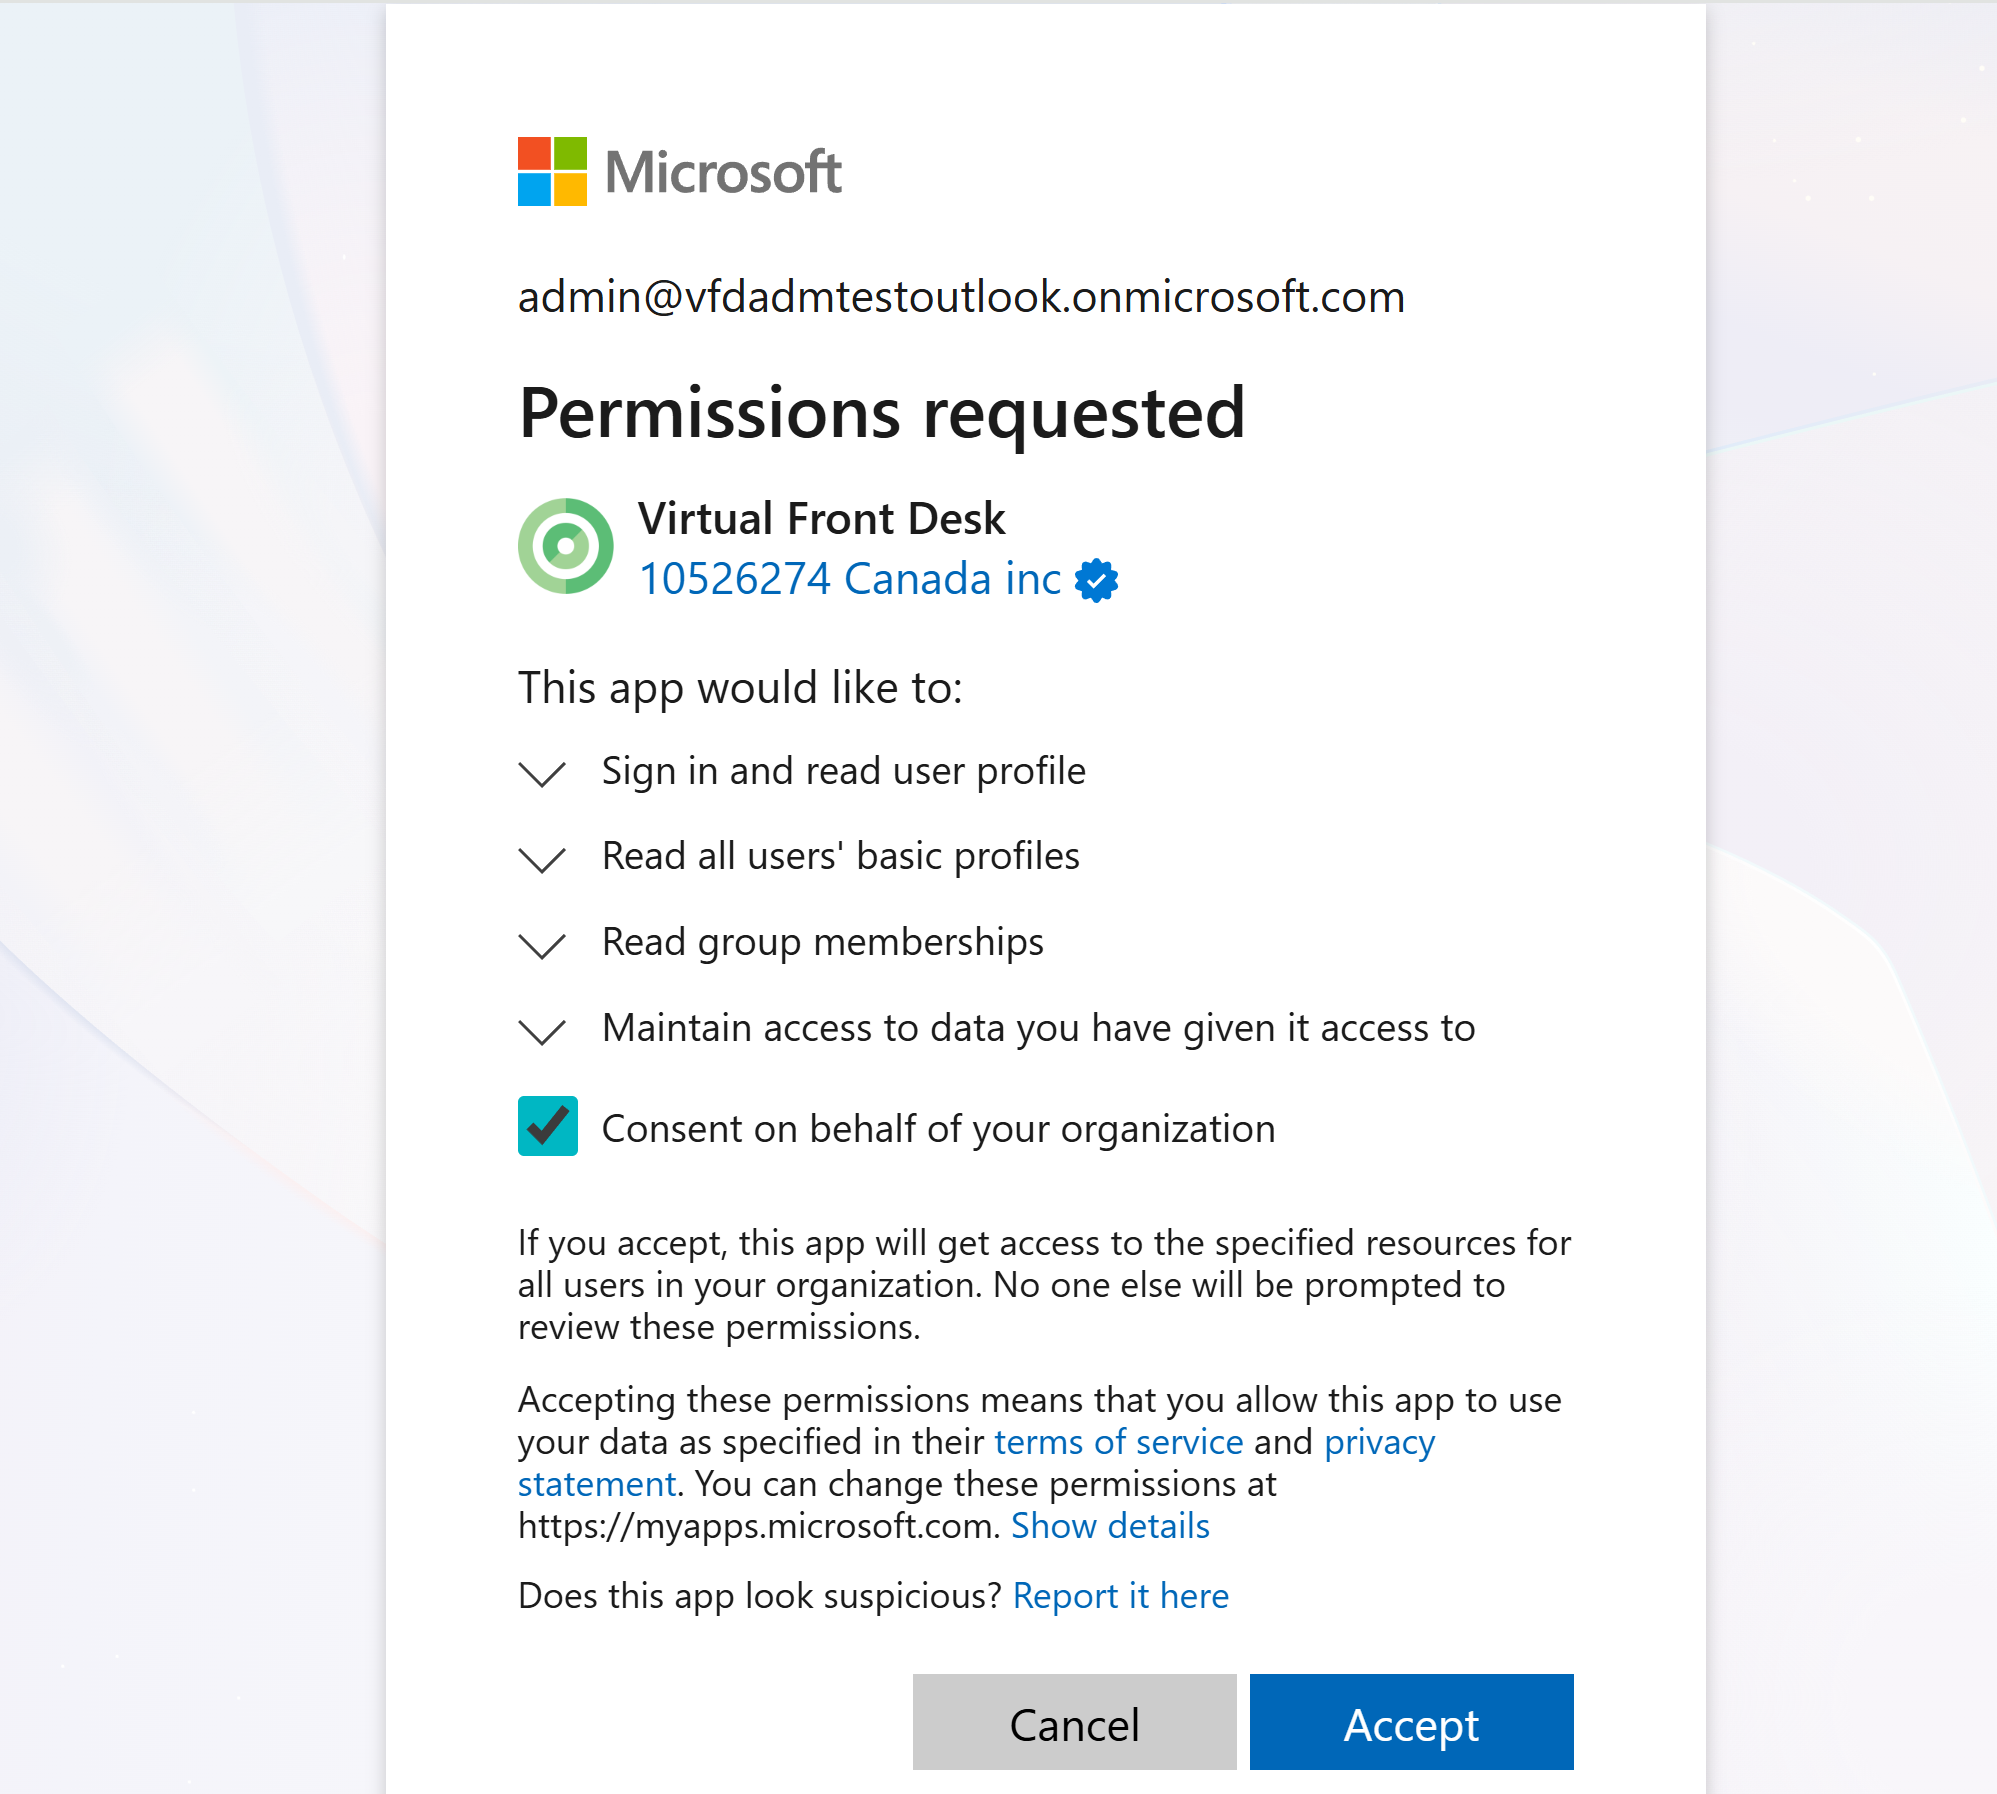
The Microsoft permissions request
Once connected, you can search for and import individual users or entire Azure groups. Azure group imports are dynamic: when you add or remove people from a group in Azure, the change is synced automatically to Virtual Front Desk. This is especially useful for larger organizations whose employee directories change often.
When you set up an employee directory on a station, a synced Azure group lists all of its members so visitors can select the person they are there to see.
To learn more, read Users and Azure Groups.